Your Composition Feels Empty? Here Are 10 Tips to Bring Your Art to Life With Dynamic References
You’ve nailed the design and the palette, yet the final piece somehow lacks life? You have a character design you absolutely love, a color palette that pops, and the technical skill to execute it. But when you look at the final piece, it feels… hollow. Something is missing. The character is just “standing there,” the space around them feels wasted, and the viewer’s eye doesn’t know where to go.
For a long time, I thought the solution to an “empty” drawing was simply adding more stuff. More grass, more clouds, more elements. But my art didn’t get better; it just got cluttered. I eventually realized that a “full” composition isn’t about how much you draw, but how you arrange the elements of the story you’re telling.
As an artist, my breakthrough happened when I stopped treating my references as static photos and started using PoseMyArt to build scenes in 3D. Here is how I use 3D references to transform “empty” drawings into dynamic masterpieces.
- 1. Find Your Line of Action
- 2. Embrace the “Rule of Thirds” in 3D
- 3. Create Visual “Arrows” - Use “Lead-In” Lines with Props
- 4. Play with Perspective Distortion (FOV)
- 5. Create Depth with Overlapping Shapes
- 6. The “Dutch Angle” for Instant Tension
- 7. Think About the Foreground, Middle-ground and Background
- 8. Use Lighting to Create Shapes
- 9. Interaction with the Environment
- 10. Directing the “Gaze”
1. Find Your Line of Action
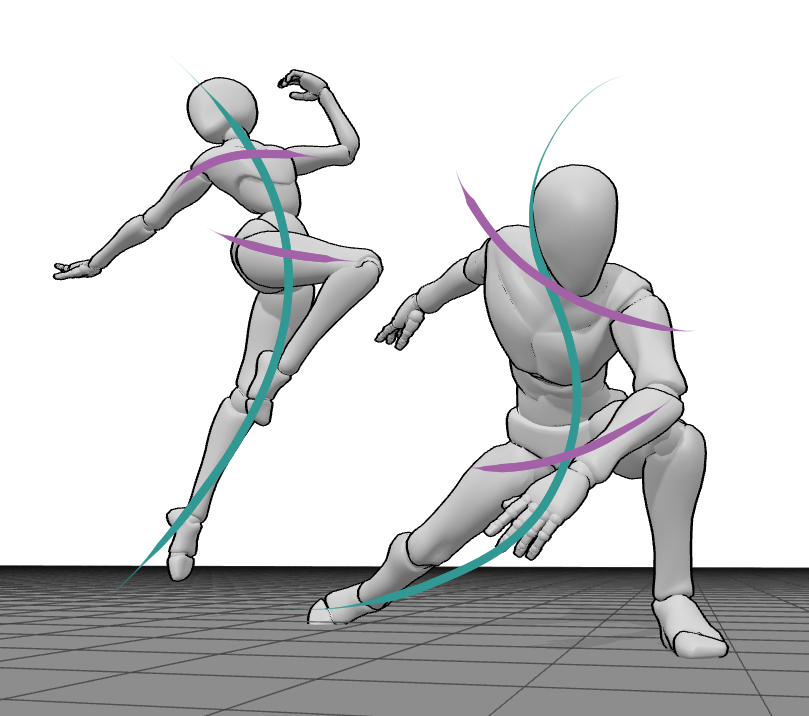
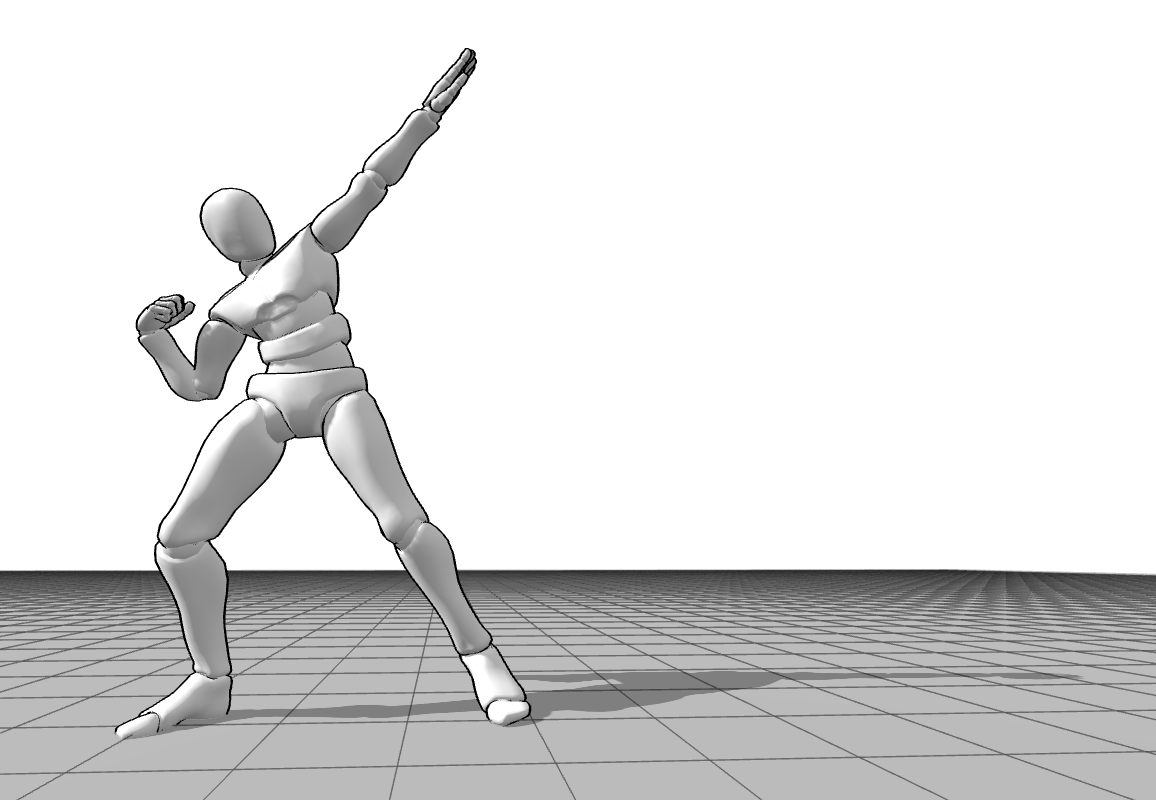
Before I even touch a brush or a pencil, I think about the flow. In my early days, my characters were always too vertical, making them look like stiff statues. A dynamic composition starts with a “Line of Action”- an imaginary curve that sweeps through the character. In the app, I don’t just pick a pose; I tilt the torso and arch the back until that line feels energized and ready to move. If your character has a strong curve, the whole page starts to feel alive.
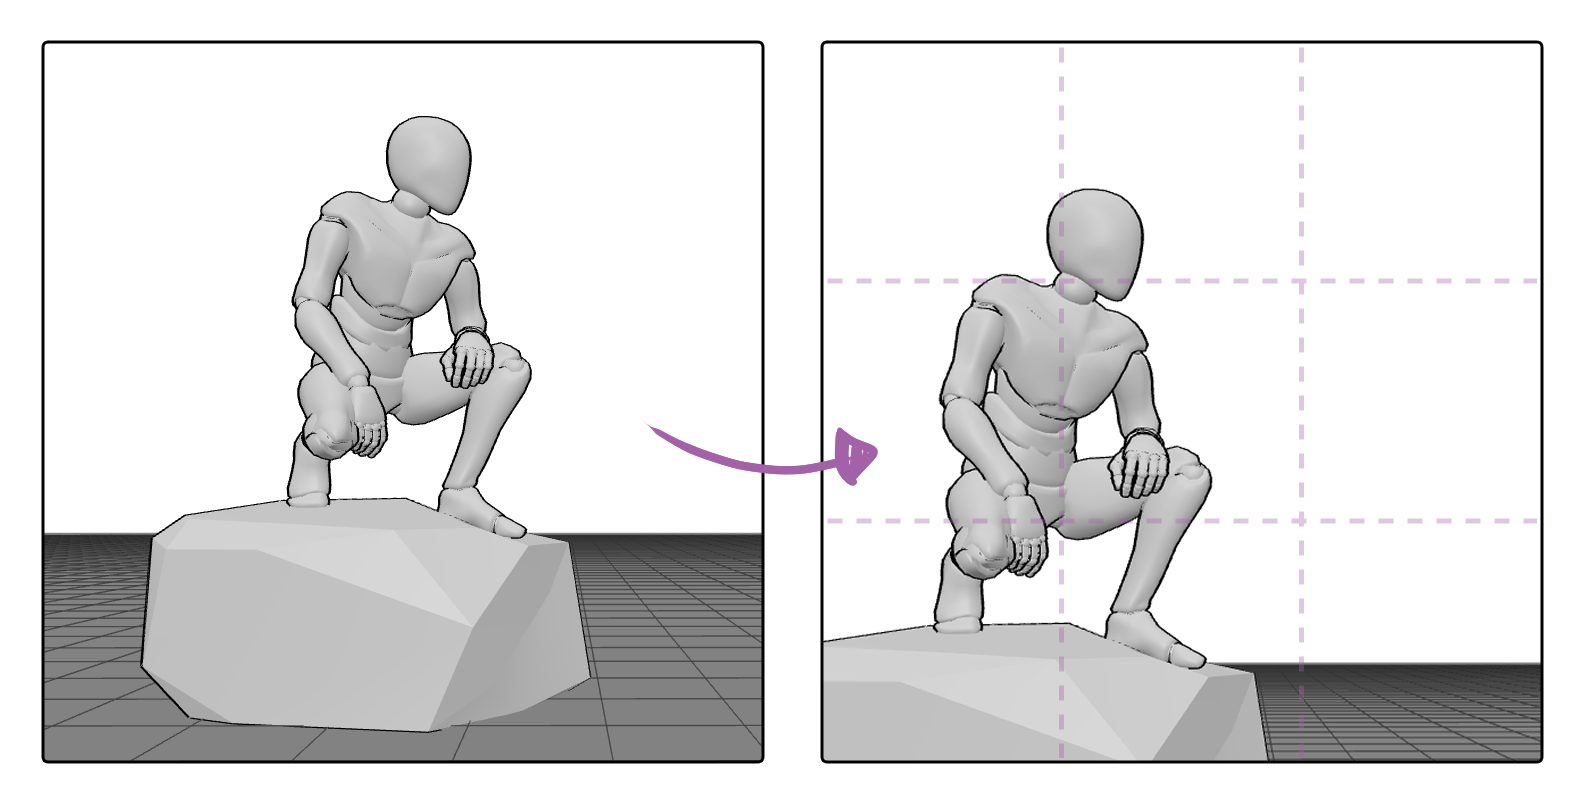
2. Embrace the “Rule of Thirds” in 3D
We’ve all heard of the Rule of Thirds, but applying it to a character in a void is hard. I used to put everything right in the center, which is the fastest way to make a drawing feel boring. Now, I use the camera in PoseMyArt to offset my model. By placing the “weight” of the character on one of the vertical thirds of the screen, I suddenly create “active” empty space on the other side. This space isn’t “empty” anymore - it’s where the character is looking or moving toward.
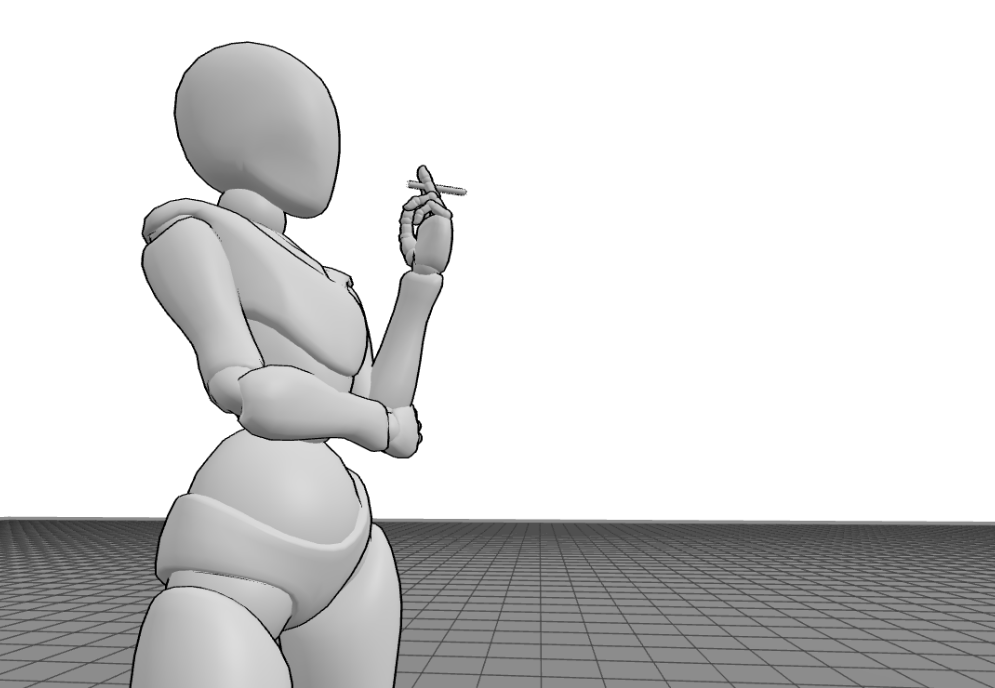
3. Create Visual “Arrows” - Use “Lead-In” Lines with Props
Every composition needs direction.
One of the best ways I’ve found to fill a composition without adding clutter is using props as pointers. If a character is holding a sword, a staff, or even just pointing a finger, those lines act as arrows for the viewer’s eyes. I love using the prop library in PoseMyArt to experiment with this.
| 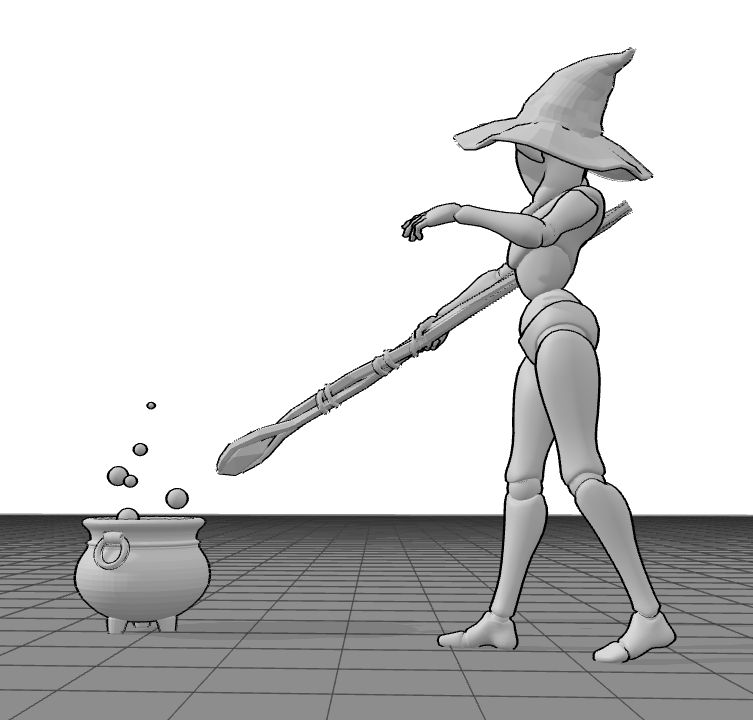 |
It doesn’t have to be weapons - any object in the scene, like a cup, a book, or even a hat or an umbrella, can act as a visual guide. By rotating or positioning these everyday items, I can subtly lead the viewer’s eye toward the focal point without cluttering the composition.
I rotate props so their edges subtly point toward the focal area - usually the face or hands. These visual arrows guide the viewer’s eye without them ever noticing. It’s one of the easiest ways to fill empty space while keeping the composition focused.
4. Play with Perspective Distortion (FOV)
This was a total game-changer for me. If you want an “epic” composition, you have to move beyond how our eyes see the world normally. To create that high-octane, cinematic feel, I’ve learned to embrace Perspective Distortion through the FOV (Field of View) settings.
In PoseMyArt, when I want a punch or a reaching hand to look massive and intimidating, I increase the FOV (widening the lens) and move the camera physically closer to that specific limb. This combination is a professional secret: it artificially stretches the space between the foreground and the background. Suddenly, the hand reaching toward the viewer looks huge, while the rest of the body feels distant and small. It fills the frame with “action” and scale without needing to add a single extra object to the background.

5. Create Depth with Overlapping Shapes
Empty-feeling art is often “flat” art. If the character’s arms are out to the sides, they don’t overlap the body, and the drawing feels like a paper cutout. Whenever I’m posing a model, I try to make sure something is always overlapping something else. An arm over a chest, a leg behind a cape, or a prop in front of the torso. Overlapping is the easiest way to tell the viewer’s brain: “This is a 3D world.”
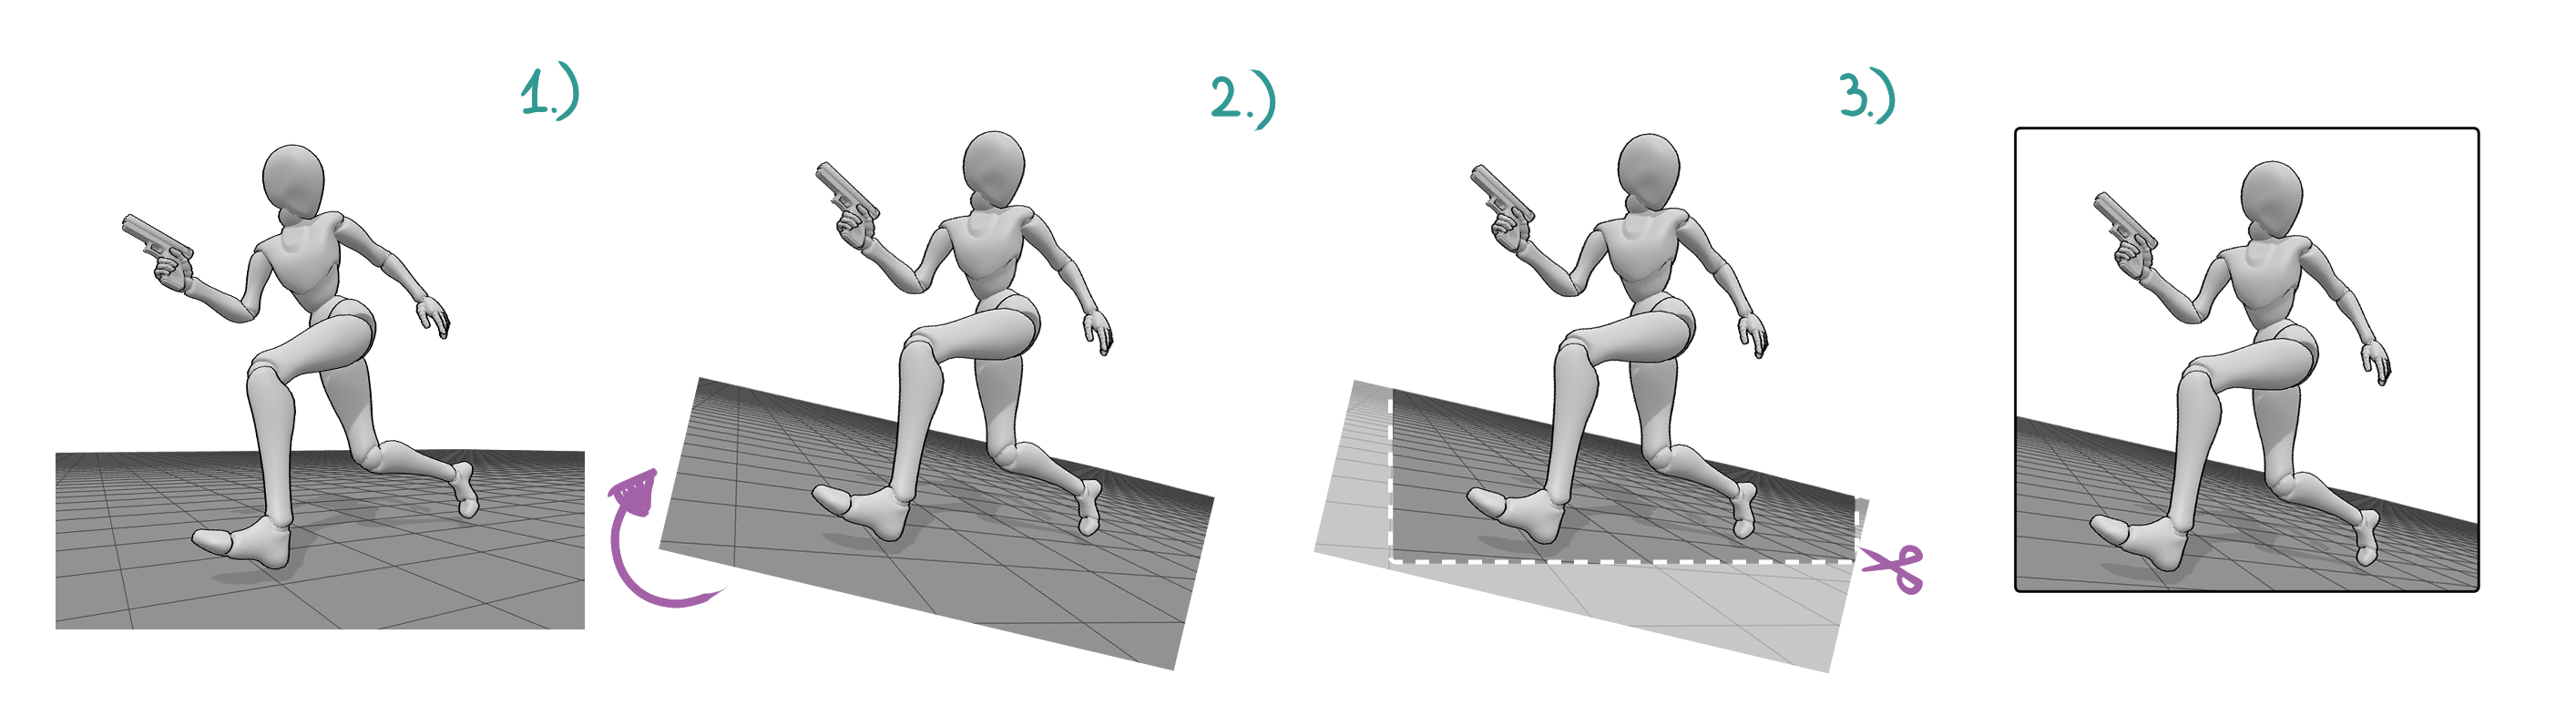
6. The “Dutch Angle” for Instant Tension
If my scene feels too “safe” or static, I tilt the camera. In cinematography, this is called a Dutch Angle. By rotating the camera slightly so the horizon isn’t level, you create a sense of unease or movement. I do this all the time when I’m drawing a character in distress or in the middle of a frantic run. Suddenly, the “empty” background feels like it’s tilting and shifting.
|  |
What is the Dutch Angle?
The Dutch Angle (also known as a Canted Angle) is a cinematic and photographic technique where the camera is deliberately tilted to one side. This makes the horizon diagonal rather than horizontal.
Imagine tilting your head to the side while looking at something. In your drawing, this causes all the vertical lines - like walls, trees, or the character themselves - to lean at an angle.
Why do we use it as artists?
This technique has a powerful psychological effect on the viewer. Because we are wired to perceive the horizon as perfectly horizontal in real life, a tilted frame immediately suggests tension or dynamism:
- Tension and Unease: It signals that something is “off.” It’s a great way to show that a situation is unstable, or that a character is confused, disoriented, or in danger.
- Dynamism and Action: It can breathe life into a boring, static pose. If you draw a running character using a Dutch Angle, the entire scene feels faster, more explosive, and more energetic.
- Filling the Space: It’s a secret weapon for fixing an “empty” composition. A body positioned diagonally takes up more visual real estate across the canvas, making the frame feel occupied and intentional.
How to do the Dutch Angle with PoseMyArt references:
- Set up your perfect pose, lighting, and FOV in PoseMyArt as usual. Export or screenshot your reference.
- The “Dutch Tilt” Hack: Open your saved image in any photo editor or drawing software and rotate the entire image by 15-30 degrees and then crop it back to a clean canvas frame.
- The Result: Suddenly, your character isn’t just standing on a flat floor anymore - they are cutting across the canvas diagonally. This fills those “empty” corners of your composition and adds an instant cinematic edge that a standard horizontal shot just can’t match.
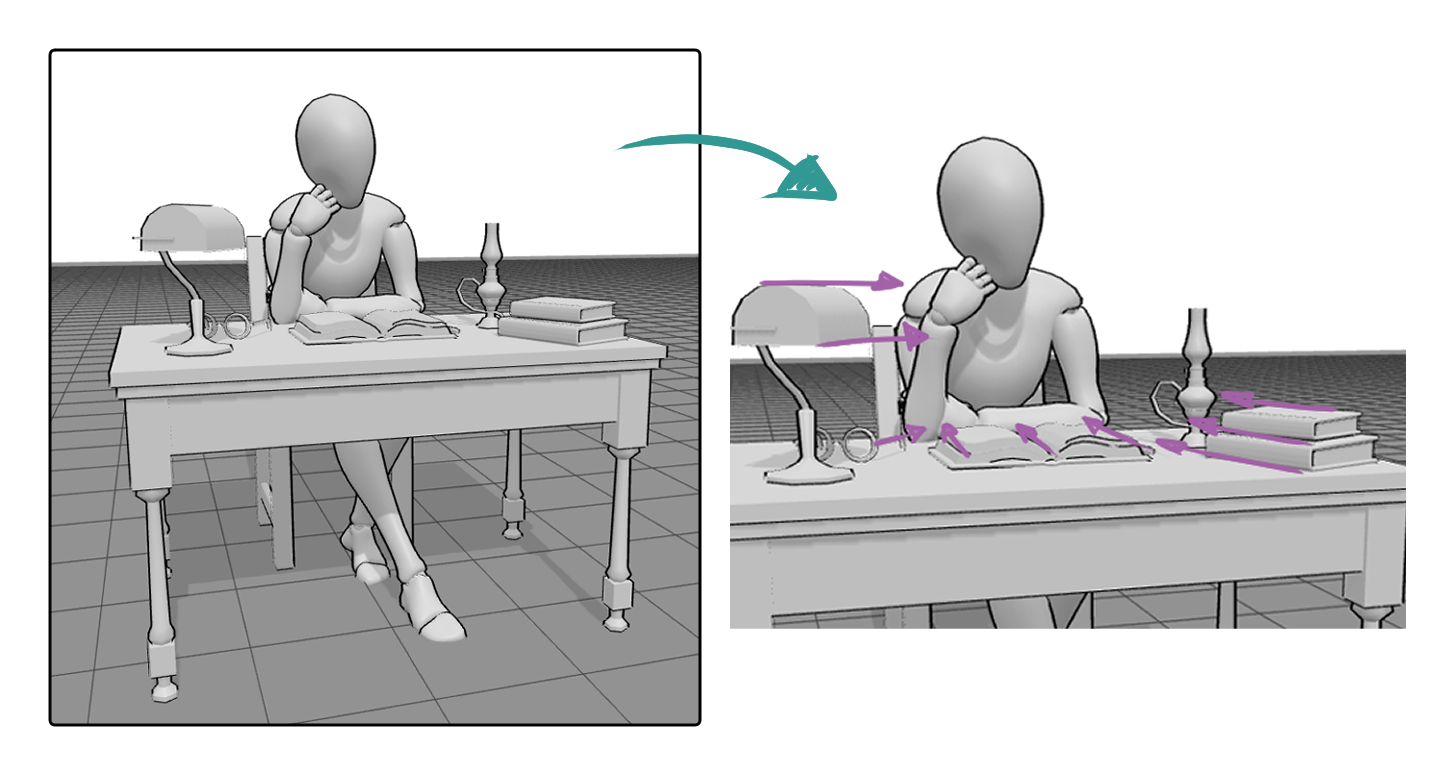
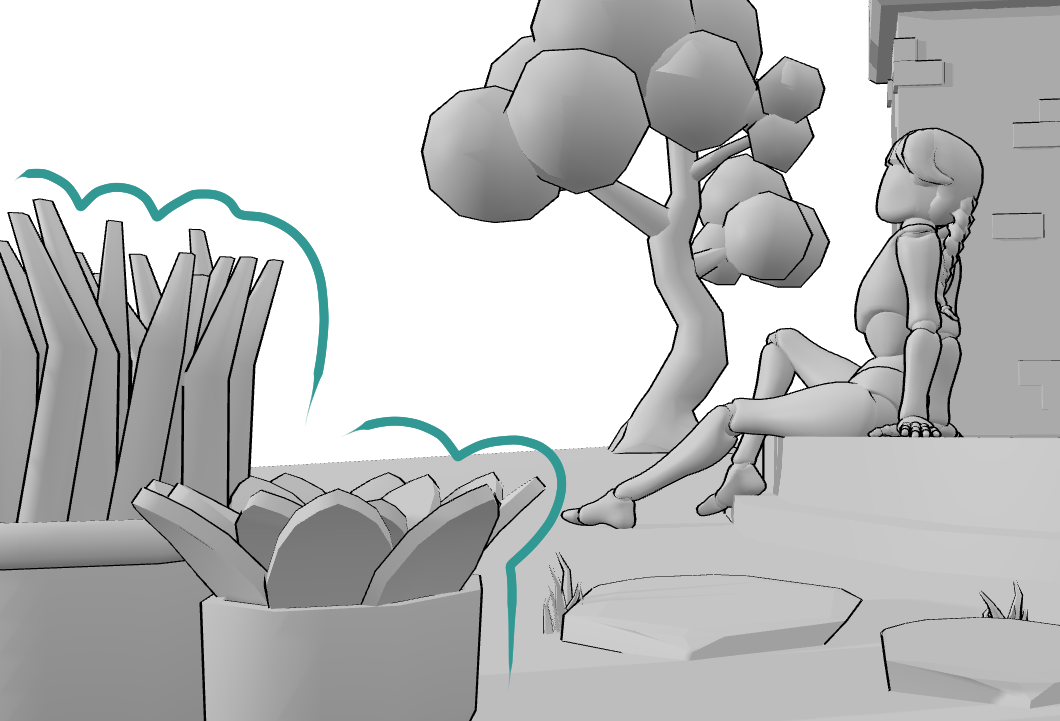
7. Think About the Foreground, Middle-ground and Background
I used to draw only the middle ground - the character - and wondered why the scene felt empty. To fix this, I started using the multi-model and prop features in PoseMyArt to build depth. Even when I plan to draw just one character, I place a model or prop very close to the camera as a soft, blurred foreground element.
This simple choice frames the character and makes the image feel like a captured moment instead of a figure floating in white space.
Master Depth with Foreground Framing By adding a nearby tree trunk, plant, foliage, or a piece of furniture, I create a clear three-layer structure: foreground, middle ground, and background. The foreground doesn’t need detail - its job is to suggest space and depth. This layered approach instantly grounds the character and turns the scene into a believable environment.
8. Use Lighting to Create Shapes
Sometimes, you don’t need to add objects to fill space; you just need shadows. I often find that a large, empty area of my canvas can be “filled” by a dramatic shadow cast by the character. In the app, I’ll move the light source low and behind the model to create long, sweeping shadows that lead the eye right across the composition. It’s “free” detail that adds immense atmosphere.
Don’t forget to increase the light intensity - a stronger light creates stronger, more defined shadows.
9. Interaction with the Environment
A character floating in white space always feels empty. I’ve learned to make my characters touch something. If they are leaning against a wall, sitting on a crate, or even just shifting their weight onto one foot on a rock, they feel integrated. When a character interacts with their surroundings, the composition feels grounded and “lived in.”

10. Directing the “Gaze”
Where is your character looking? The “sightline” is a powerful invisible line in any composition. If your character looks off-canvas, the viewer follows them, and the drawing feels like it has a world beyond the borders. If they look directly at the viewer, it creates an intimate, full-frame connection. I spend a lot of time adjusting the head and neck bones in the app to make sure that gaze is doing exactly what I want it to do.
My Journey from Static to Dynamic
For years, I felt stuck drawing “passport photos” of my characters, just front-facing, boring shots that showed the design but none of the soul. Switching to a 3D workflow didn’t just help my anatomy; it taught me how to be a director.
When you use PoseMyArt, you aren’t just a person with a pencil; you are the cinematographer, the lighting technician, and the set designer. You can move around your character until the empty space disappears and the story emerges.
You don’t know where to start?
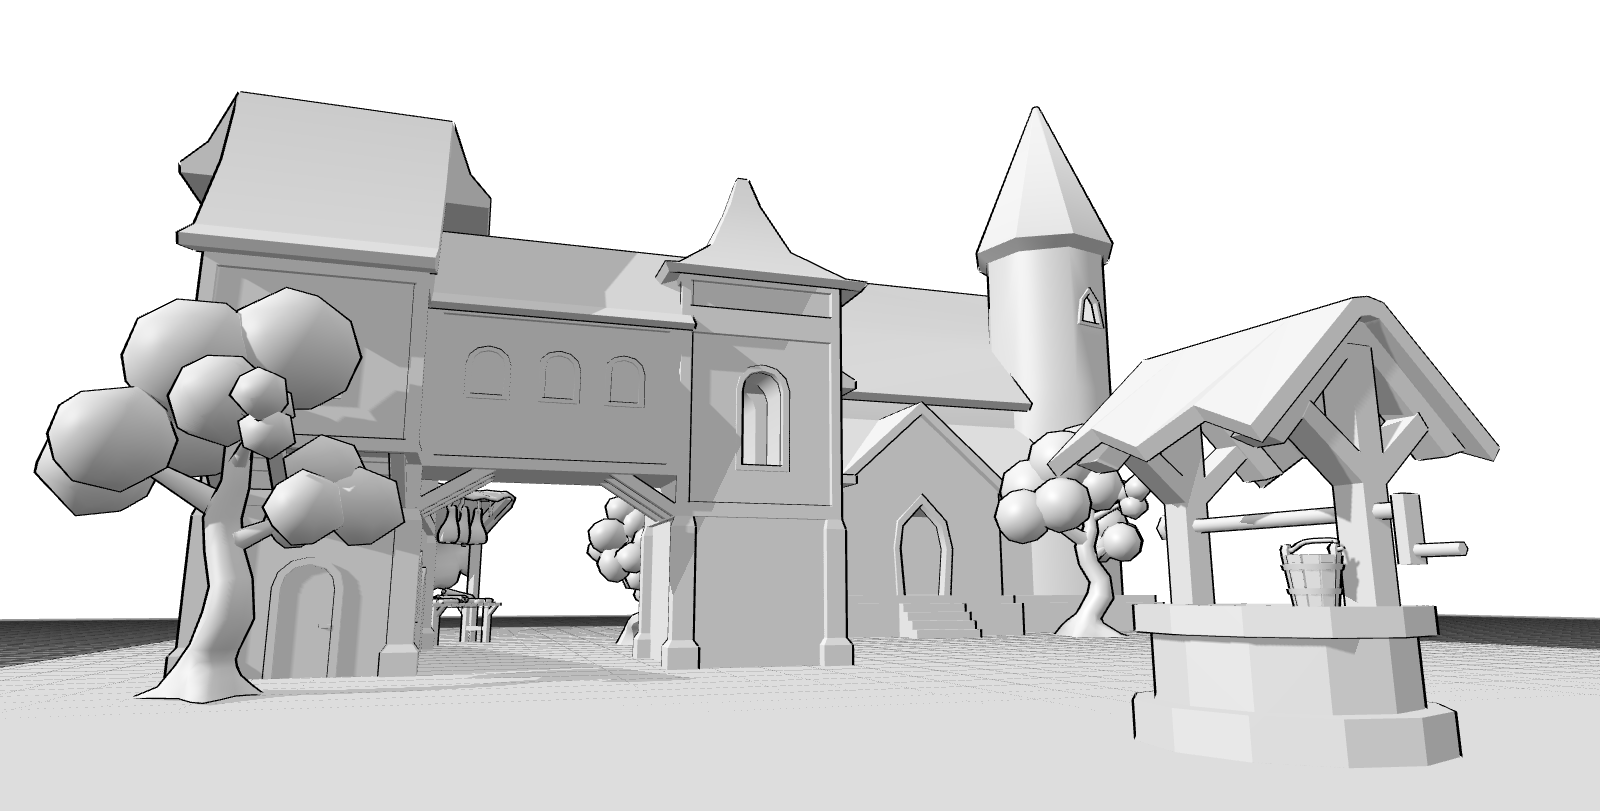
Check out the Background Drawing Reference collection, where you’ll find 10 pre-made 3D scenes designed to help you jumpstart your composition and bring your own stories to life instantly.
Final Thoughts
Don’t fear the empty canvas. Use it as a stage. By using 3D references to plan your depth, your lighting, and your lines of action, you’ll find that you don’t need to draw a thousand trees to make a forest feel real - you just need the right composition.