Why Drawing Different Body Types Improves Your Figure Drawing
When I first started learning figure drawing seriously, I avoided certain body types without even realizing it. I gravitated toward slim, athletic figures because they felt safer, more familiar, and easier to control on the page. Anything outside that comfort zone - very thin bodies, heavier figures, strong muscular builds - made me hesitate. I told myself I would “get to them later.”
What changed everything was the moment I realized that my drawings were technically improving, yet they all started to look the same. The poses lacked weight. The characters lacked personality. And most importantly, my understanding of the human body was incomplete.
That’s when I began consciously practicing different body types. Not as a stylistic experiment, but as a structural one. And the improvement in my figure drawing was immediate and undeniable.
This article answers a simple question: Why does drawing different body types make you a better figure artist? And just as importantly, how can you practice this respectfully, accurately, and confidently?
- Body Types Are About Structure, Not Labels
- What “Different Body Types” Means in Drawing Practice
- Drawing Heavier Bodies: Respectful and Accurate
- Drawing Very Thin Bodies: Avoiding the “Stick Figure Trap”
- Drawing Muscular Bodies: Control Over Detail
- Why This Practice Improves All Your Drawings
- Using PoseMyArt for Body Type Practice
Body Types Are About Structure, Not Labels
Instead of thinking about body types as visual categories or labels, it’s more useful - and more accurate - to think of them as variations in structure, mass, and proportion.
Every body type changes:
- how weight is distributed
- how gravity affects the pose
- how joints align
- how balance is maintained
Practicing different body types trains your eye to see cause and effect in the body. A wider torso affects the hips. Long, thin limbs change gesture flow. Muscle volume alters silhouette and tension.
This is not about exaggeration or judgment. It’s about understanding reality so your drawings feel believable.
What “Different Body Types” Means in Drawing Practice
In figure drawing, the term different body types is best understood as structural variation, not categorization.
What changes from one body type to another is not just appearance, but how the body is built, how it balances itself, and how it reacts to movement and gravity.
In practical drawing terms, this can include:
Skinny - narrower ribcage and pelvis, reduced muscle volume, sharper joints and clearer bone landmarks
Stocky / Heavier - wider overall forms, smoother transitions between volumes, a stronger sense of mass and grounding
Muscular - pronounced muscle groups, visible tension and compression, clearer separation of large forms
Young - softer proportions, less defined musculature, different head-to-body ratios, and a lighter balance point
Yes, young bodies absolutely count as a different body type in drawing. Not because of age as a label, but because proportions, posture, and muscle definition behave differently and require different structural decisions.
Studying these variations trains your eye to recognize cause and effect in the body. It sharpens anatomical logic and helps you understand why a pose works, not just how it looks.
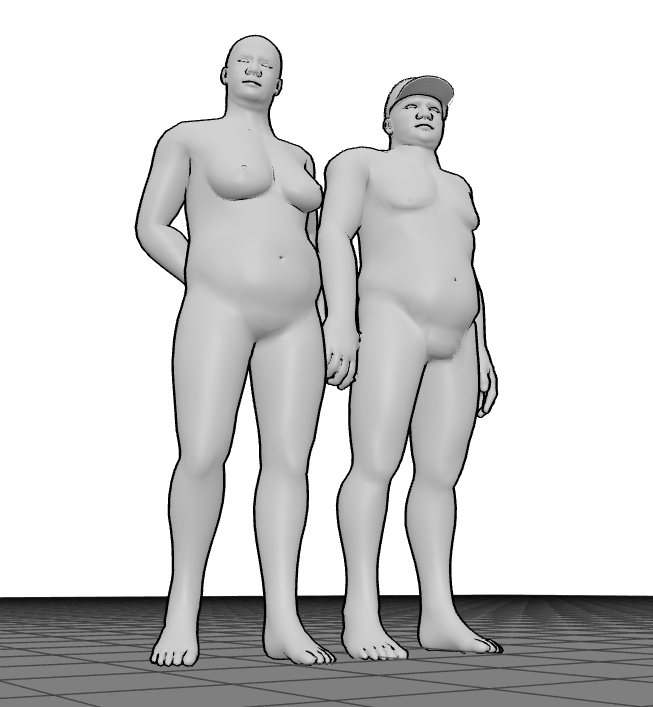
Drawing Heavier Bodies: Respectful and Accurate
One of the most common mistakes when drawing heavier bodies is treating them as “the same pose, just bigger.”
This approach immediately breaks realism, because increased mass changes how the body supports itself.
 Heavier bodies don’t simply scale up.
They redistribute weight, adjust posture, and respond more visibly to gravity.
Instead of focusing on size, focus on structure:
- Weight and gravity: Mass settles downward more clearly. The torso often sits lower into the pelvis, and standing poses usually show a stronger commitment to one supporting leg.
- Compression and overlap: Look for areas where forms press into each other - ribcage into abdomen, abdomen into hips, thighs into the pelvis. These overlaps are structural results of weight, not stylistic exaggeration.
- Softer form transitions: Avoid sharp contour breaks. Volumes blend more gradually, especially around the waist, hips, lower back, and upper thighs.
- Postural compensation: To stay balanced, heavier bodies often adjust subtly - a slight backward lean, a wider stance, or a more pronounced hip shift.
- Clothing as evidence: Fabric tension and folds clearly reveal where the body carries weight and where compression occurs.
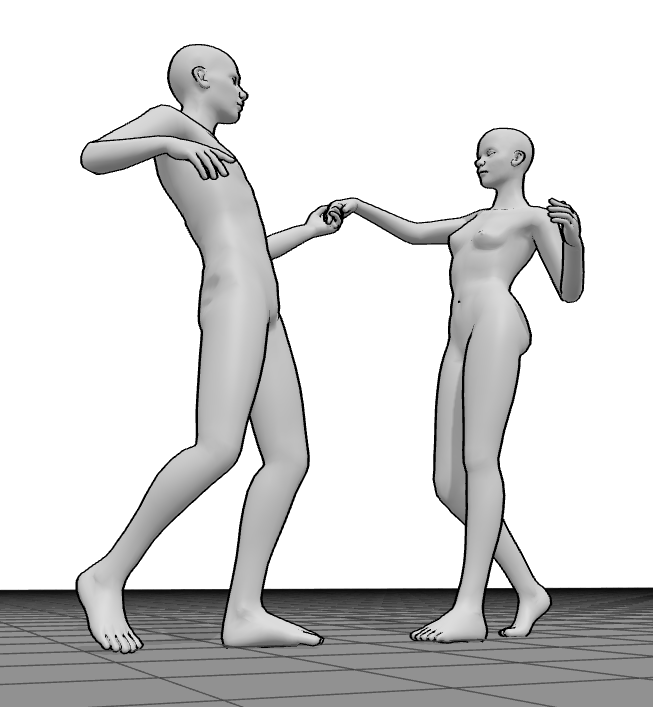
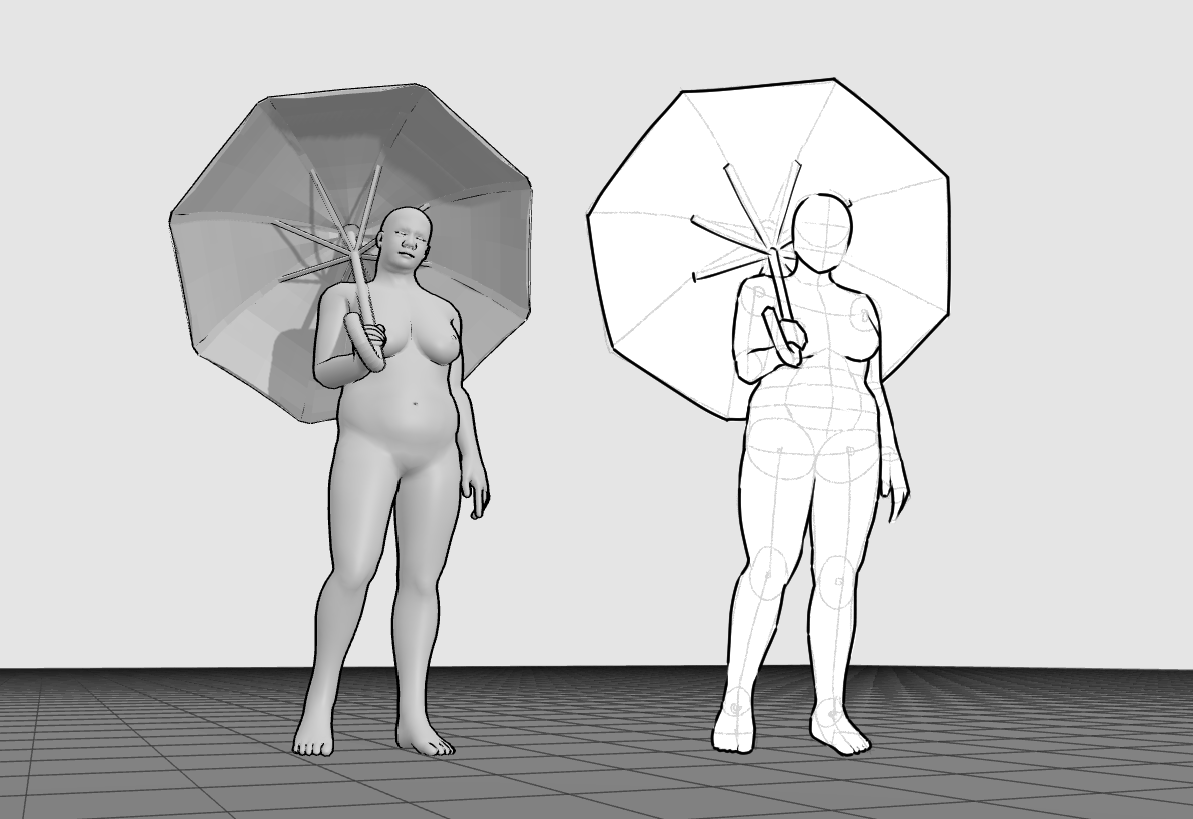
A particularly effective exercise is to draw the exact same pose using two different body types. One version can be fuller and heavier, while the other is noticeably slimmer - but the pose itself remains identical.
 Limit yourself to simple construction lines and basic volumes only. Focus on the main masses of the body, their proportions, and how they relate to each other in space. Avoid surface detail, anatomy rendering, or stylized outlines.
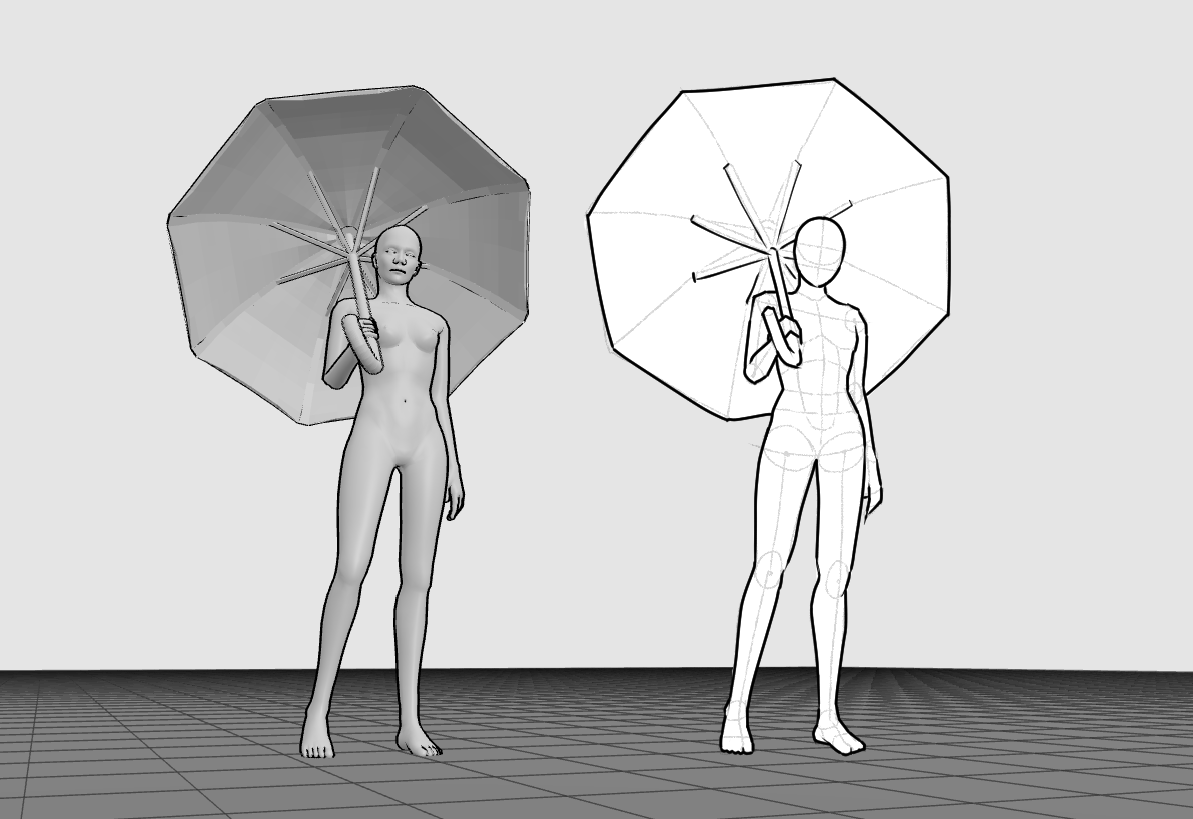
By working this way, you remove visual distractions and are forced to solve what actually matters: balance, weight distribution, and overall structure. The pose must feel stable and believable in both body types, even though the volumes and proportions differ.
This exercise trains you to think in terms of structure and mass rather than shape or decoration. Over time, it builds a stronger understanding of body diversity and helps you avoid defaulting to a single body type when designing characters.
For this kind of exercise, the Plus Size Body References and the Body Types Drawing References collections offer a wide range of poses that work well for studying mass and balance.
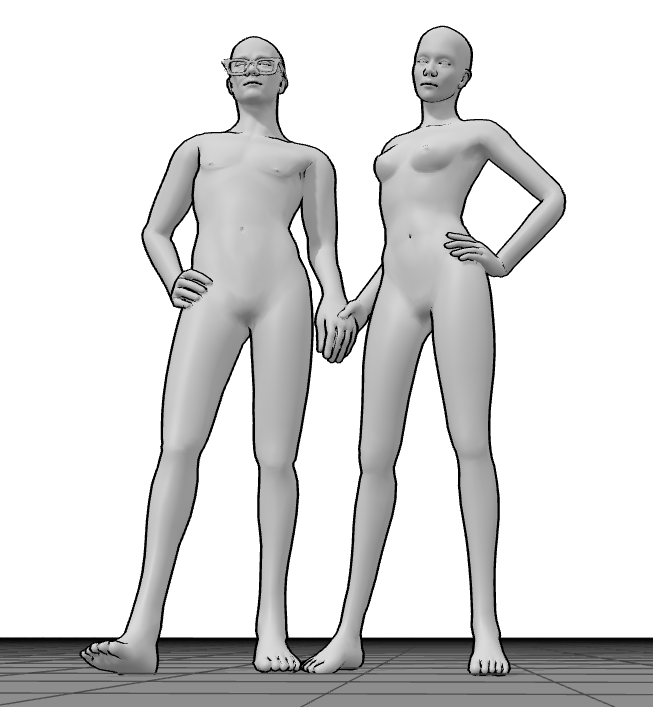
Drawing Very Thin Bodies: Avoiding the “Stick Figure Trap”
Extremely thin bodies are often simplified too much, which can quickly lead to stiff, lifeless figures.
The challenge here is not removing mass, but reducing it intelligently while preserving structure.
 Here are concrete structural principles to focus on:
- Reduce mass, don’t erase it Think in terms of narrowing forms, not deleting them. Cylinders become slimmer, boxes flatten slightly, but they remain three-dimensional. If you remove too much volume, the figure collapses into a symbol instead of a body.
- Use bone landmarks as anchors In very thin bodies, landmarks like the clavicles, spine, elbows, knees, ankles, and iliac crest are more visible. These points help you maintain proportion and prevent the figure from feeling floaty or disconnected.
- Watch joint spacing carefully Long, thin limbs exaggerate distances between joints. This can easily throw off balance if you’re not paying attention to how the body supports itself, especially in standing and walking poses.
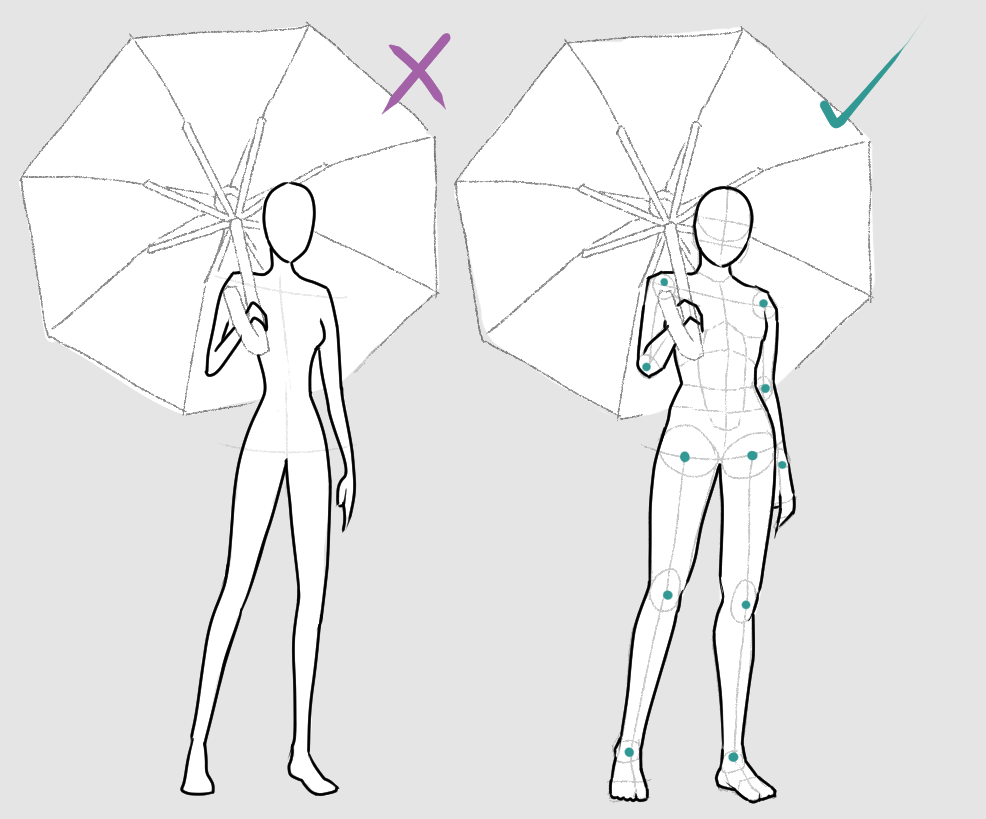
- Gesture before structure Thin figures are especially vulnerable to stiffness. Always establish a clear gesture line first. If the gesture works, the thinness will feel intentional rather than fragile or accidental.
Thin does not mean fragile or lifeless. Gesture remains king.
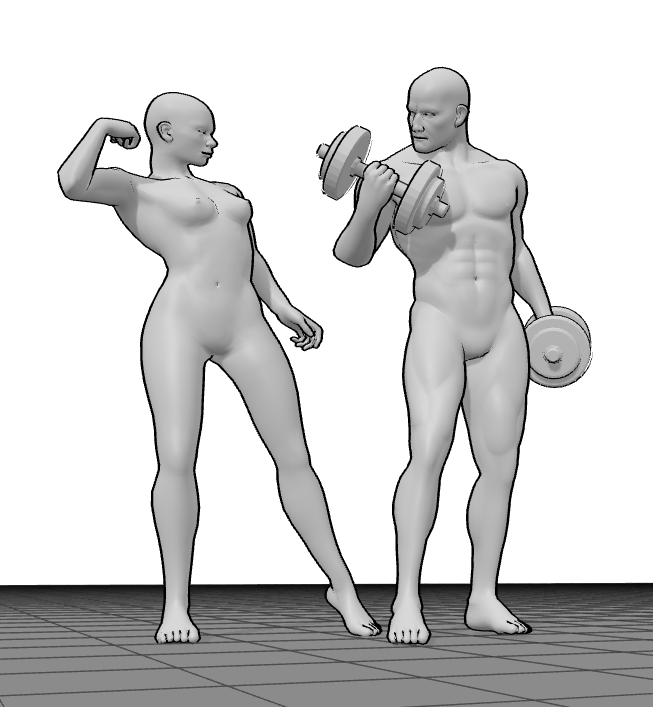
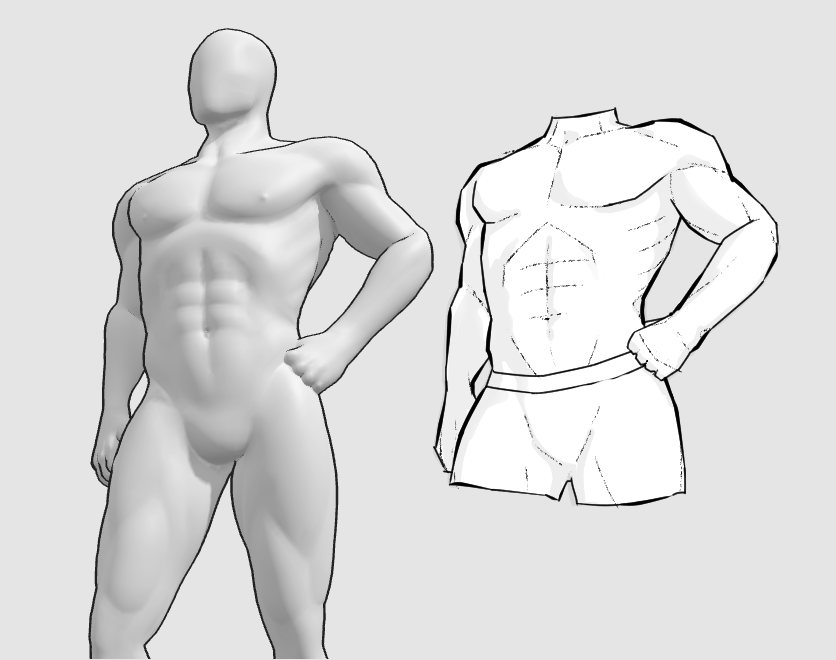
Drawing Muscular Bodies: Control Over Detail
Muscular bodies introduce a very different challenge than thin or heavier figures.
Here the problem is rarely lack of information - it’s too much of it.
Many artists fall into the trap of outlining every muscle they know, which quickly overwhelms the pose and destroys clarity.
Muscle should communicate function and tension, not anatomy memorization.
 For studying the muscular body type, you can find a wide variety of suitable poses in the Muscle Drawing References and Muscular Body Drawing References collections, making it easier to practice structure, mass, and proportion consistently.
Key structural principles to focus on:
- Build the body before the muscles Start with the ribcage, pelvis, and limb cylinders. If the underlying structure doesn’t work, no amount of muscle detail will save the drawing.
- Think in muscle groups, not individual muscles Focus on large masses first: deltoids, pectorals, lats, glutes, quads. Smaller muscles only appear where the pose demands them.
- Let the pose decide what shows Only muscles under tension should assert themselves. A relaxed arm should not look as defined as a flexed one. If everything is equally detailed, nothing reads as strong.
- Use compression and stretch instead of outlines Muscle looks most convincing where it compresses against bone or stretches across a joint. These changes in form tell the viewer more than sharp contour lines ever could.
Muscle should serve the pose - not overpower it. Muscle should feel earned through structure and movement, not added on top as decoration.
Why This Practice Improves All Your Drawings
When you consistently practice drawing different body types, your approach to figure drawing changes at a fundamental level.
You stop copying surface appearances and start solving structural problems.
Here’s what improves - every time:
- Gesture becomes adaptive You learn that gesture behaves differently depending on mass. The same movement flows differently through a thin body than through a heavier one.
- Silhouettes become intentional Different body types force you to design clearer, more readable outer shapes instead of relying on default proportions.
- Weight becomes believable Figures stop floating. You begin to feel where the body rests, pushes, leans, and compensates.
- Characters gain individuality Bodies stop looking interchangeable. Even simple poses start to suggest personality and presence.
For me, this was the turning point where my figures stopped feeling like mannequins. The same pose drawn on different bodies suddenly told completely different stories.
And the most important part: When you return to your preferred or “comfortable” body type, your drawings are better than before.
Because you’re no longer copying a look. You’re understanding a system. And that understanding transfers to every style you draw in.
Using PoseMyArt for Body Type Practice
PoseMyArt is especially useful for body type studies because it supports deliberate, comparative practice.
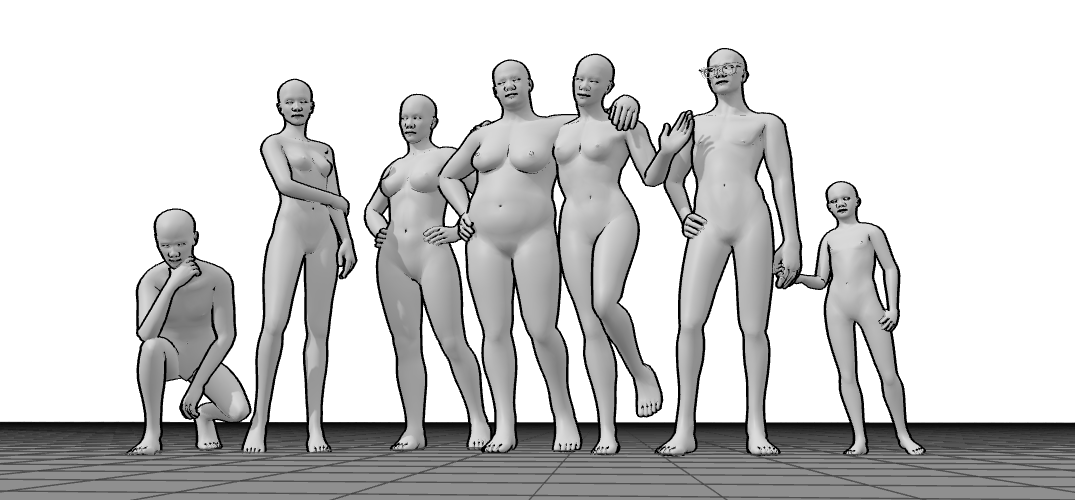
The platform offers a curated selection of poseable female and male 3D models representing different body types, such as skinny, stocky, muscular, and young proportions.
This allows you to study how the same pose behaves across different structures.
What makes this particularly effective for learning:
- You can apply identical poses to different body types and compare proportion changes directly
- You can rotate the camera freely to analyze balance, compression, and counter-movement
- You can push poses into more dynamic or extreme ranges while maintaining structural clarity
- You can build reference scenarios that are difficult to stage with photography, such as complex twists or mid-motion poses
This encourages intentional study. Instead of guessing how a body might behave, you can observe it clearly and make informed drawing decisions.
Final Thoughts
Drawing different body types is not about variety for its own sake. It’s about depth, understanding, and confidence.
Each body type teaches a different lesson:
- thin bodies train gesture and balance
- heavier bodies teach weight and compression
- muscular bodies sharpen structural clarity and restraint
Together, they build a complete understanding of the human figure.
If you want your drawings to feel grounded, expressive, and believable, this practice isn’t optional.
Step outside what feels comfortable. That’s where real improvement happens.