Drawing Hands Holding Objects: A Practical Guide for Artists
Drawing a hand that holds something is one of those moments where everything either clicks - or completely falls apart. I struggled with this for a long time. Loose hands were manageable. Expressive gestures were fine. But the second a hand had to grip, support, or carry an object, the drawing started to feel stiff, broken, or strangely fake.
The breakthrough didn’t come from memorizing more anatomy.
It came from understanding how hands adapt to objects - and from finally using proper 3D hand-and-object references instead of guessing.
This guide breaks the problem down in a way that actually works.
- Why Hands Holding Objects Are So Hard to Draw
- The Core Rule: The Object Shapes the Grip
- Hand Holding Pose References You Can Learn From
- Common Grip Types You Should Know
- What Usually Goes Wrong - And How to Spot It
- Why 3D References Changed Everything for Me
- How to Create a Hand Holding Pose - Step by Step
- Practice Ideas That Actually Improve Results
Why Hands Holding Objects Are So Hard to Draw
When a hand holds something, several things happen at once:
- fingers change length visually due to perspective
- tension distributes unevenly
- the thumb becomes structural, not decorative
- the palm shape adapts to the object
- negative spaces disappear or shift
That’s a lot to invent from imagination.
Most awkward hand-holding drawings fail not because the hand is “bad,” but because the relationship between hand and object isn’t believable.
The Core Rule: The Object Shapes the Grip
When someone picks up an object, the hand naturally adapts to it. A thick hammer, a thin pencil and a round glass all require different finger placement, wrist angles and grip strength.
In real life, the object influences:
- finger spacing
- grip strength
- wrist angle
- thumb position
If the grip doesn’t reflect the object’s shape and weight, it will often feel stiff or unconvincing - even if the hand anatomy is correct.
A good question to ask yourself is:
“How would someone naturally hold this object?”
Hand Holding Pose References You Can Learn From
One of the biggest advantages of working with 3D references is seeing how real, functional hand poses are constructed.
In the Pose Reference Library, there are hundreds of premade poses where the model is holding an object. These aren’t random gestures - they’re built around real interaction, weight and grip logic.
You’ll find hand holding poses across multiple categories, such as:
- everyday objects (bottles, phones, books)
- tools and weapons (knives, swords, hammers, guns)
- bags and luggage (bags, suitcases)
- sports equipment (dumbbells, balls)
- food and kitchen items (glasses, plates, utensils)
Each category gives you a different type of grip, tension level, and wrist behavior to study.
Exploring different object categories is one of the fastest ways to understand how grip, finger placement, wrist angle, and hand tension change depending on what the character is holding.
Here are a few examples you can explore:
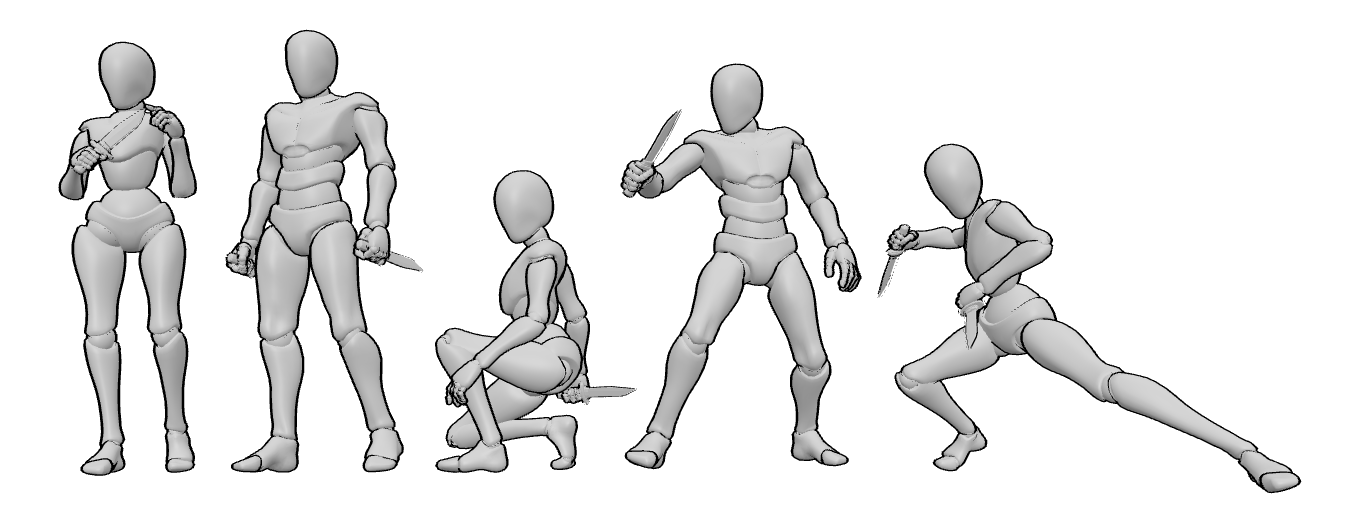
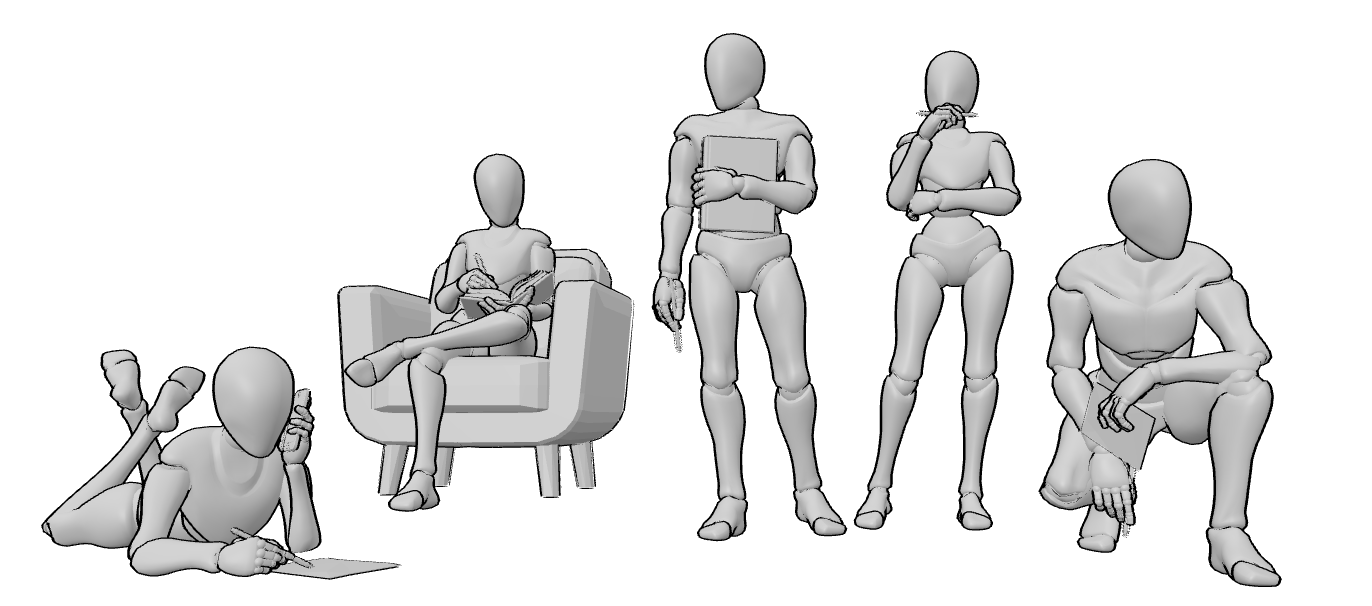
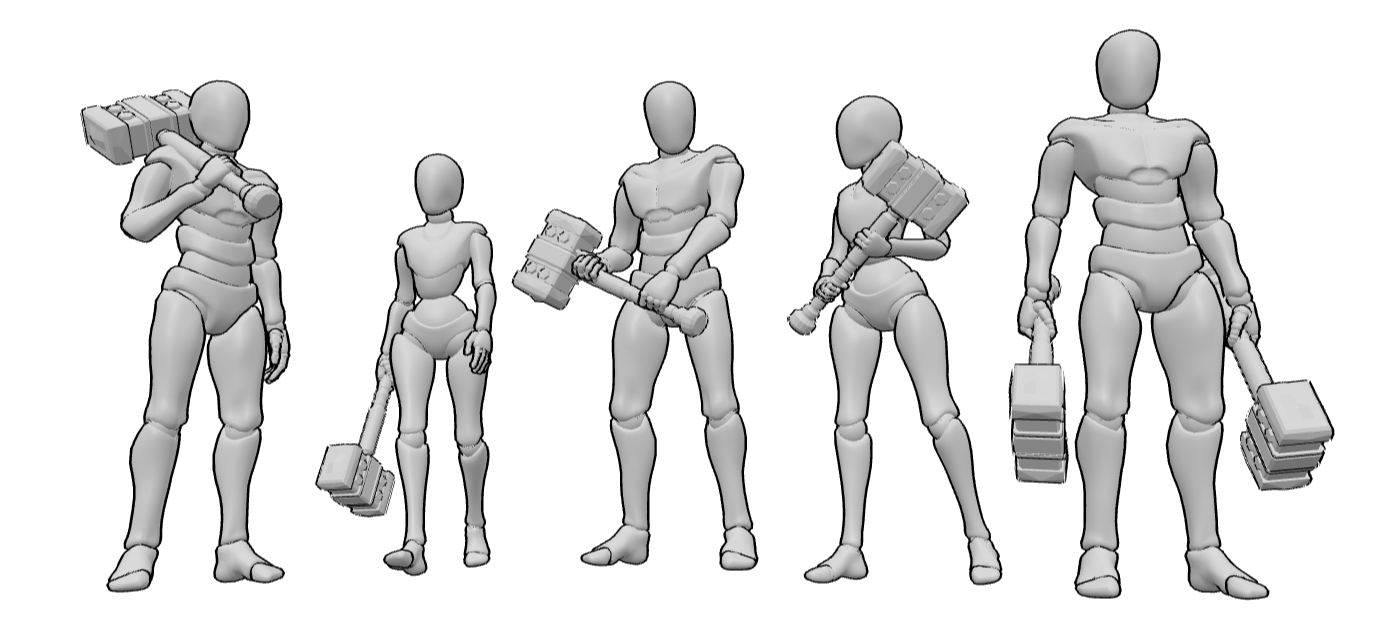
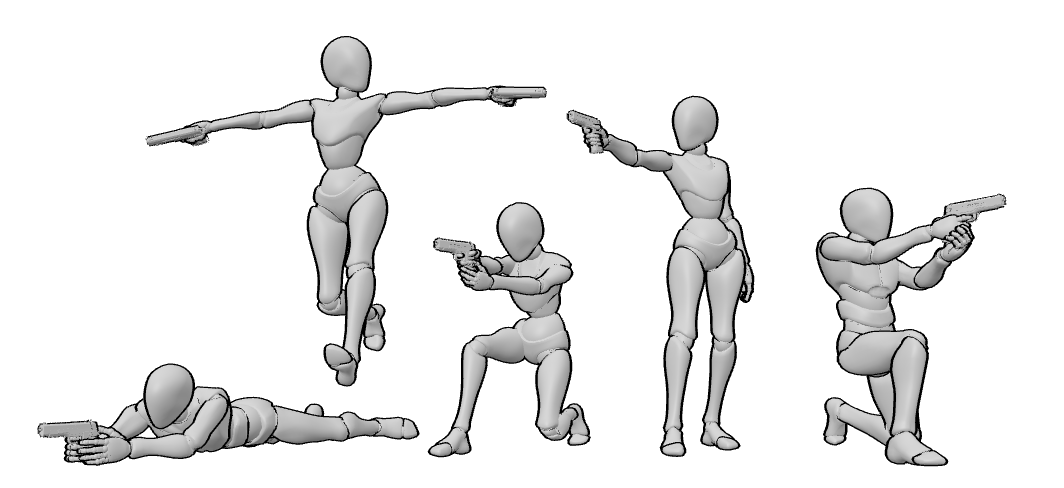
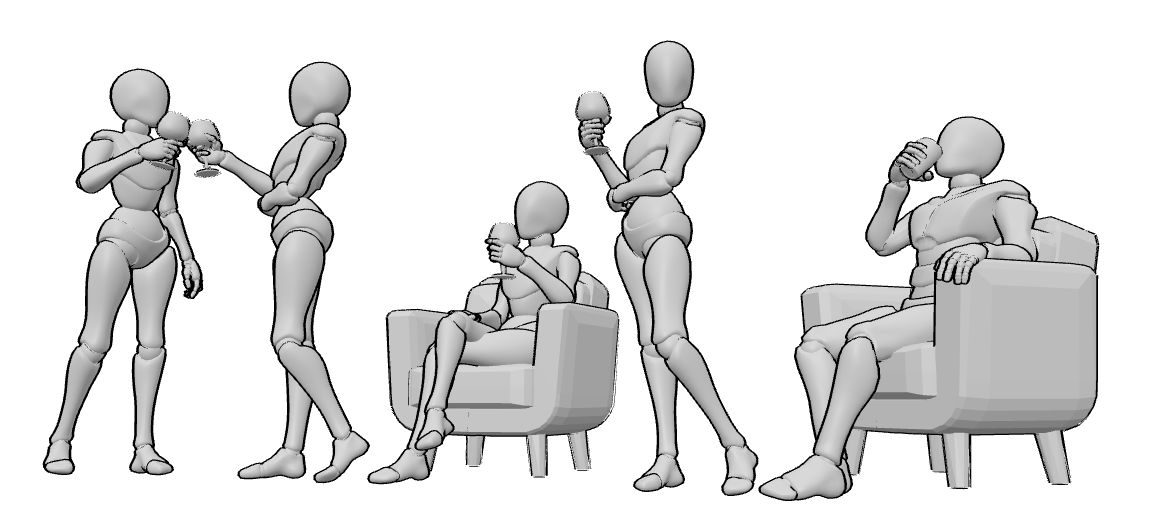
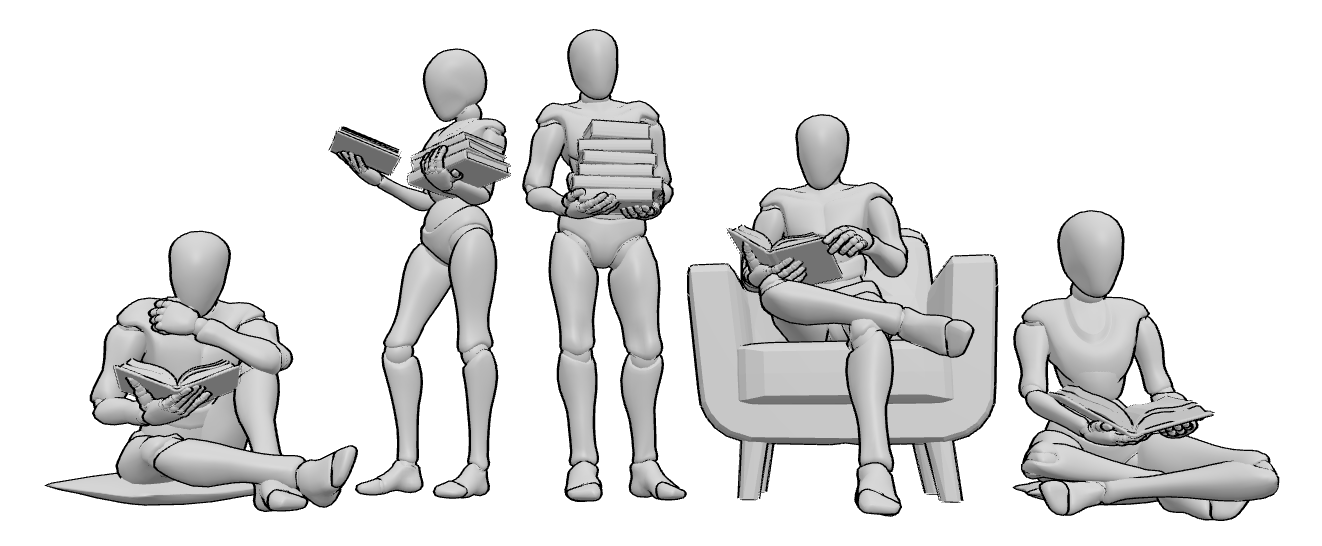
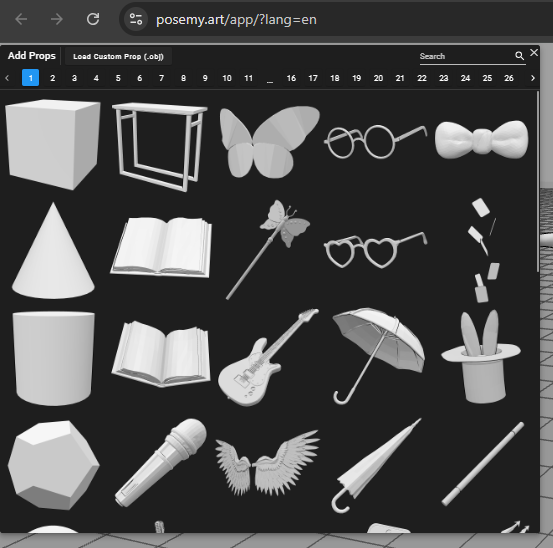
You can also choose from a wide variety of objects in PoseMyArt to create your own realistic hand poses.
Common Grip Types You Should Know
Understanding grip categories simplifies everything.
1. Power Grip
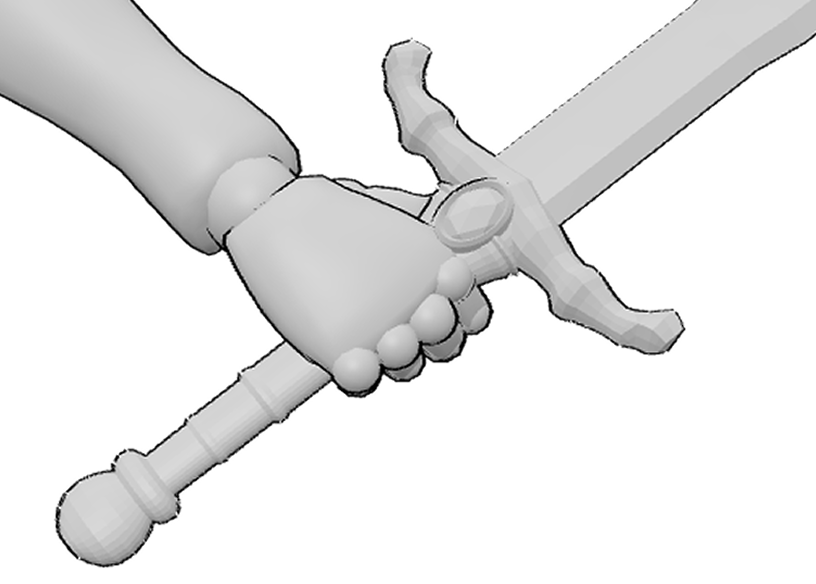
Used for heavy or stable objects (weapons, bottles, tools).
- fingers wrap firmly
- knuckles align in a curved arc
- thumb locks over or against fingers
- palm makes strong contact
If your power grip looks weak, it’s usually because the fingers aren’t wrapping far enough.
2. Precision Grip
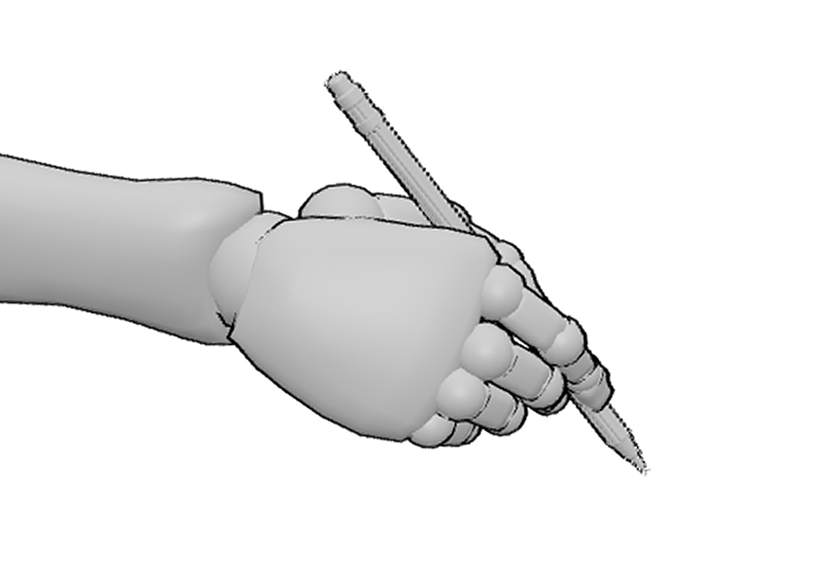
Used for small or delicate objects (pencil, card, phone edge).
- fingertips dominate
- less palm contact
- thumb becomes the main controller
- subtle tension, not force
These grips fail when fingers look equally active. Precision grips are selective.
3. Support Grip
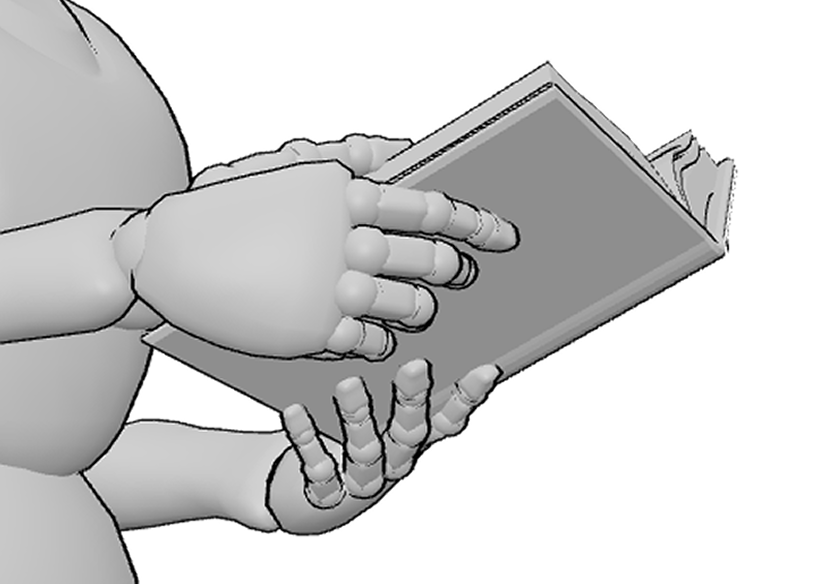
Used when carrying or stabilizing something (books, bags, boxes, plates).
- fingers hook rather than squeeze
- wrist often angles to counter weight
- tension is directional, not uniform
Support grips look wrong when the wrist stays neutral.
What Usually Goes Wrong - And How to Spot It
Even when the anatomy is correct, a grip can still feel strangely artificial. More often than not, the problem isn’t the hand itself - it’s the interaction between the hand and the object.
The object feels like it’s floating
One of the easiest mistakes to spot is an object that looks as if it’s simply placed inside the hand instead of being held. Real fingers press, wrap and slightly compress against whatever they’re touching.
Look closely at where the fingertips meet the object. Those contact points are what convince the viewer that the grip is real.
Every finger is doing exactly the same thing
Beginners often curve every finger by the same amount. While it looks tidy, it rarely looks natural.
In most grips, one or two fingers do most of the work, while the others simply stabilize the object. That subtle imbalance is what makes a hand feel alive instead of posed.
The thumb isn’t participating
The thumb is easy to underestimate because it occupies less visual space than the fingers. In reality, it’s often the part of the hand doing the most important job.
If the thumb doesn’t appear to push, lock or counter the fingers, the entire grip tends to lose its sense of structure.
The palm stays perfectly flat
Hands aren’t rigid. As soon as they wrap around something round or heavy, the palm changes shape along with the fingers.
Pay attention to how the hand molds itself around the object. That small amount of curvature often makes a bigger difference than adding extra details or wrinkles.
Why 3D References Changed Everything for Me
This is where things finally stopped being frustrating.
Using PoseMyArt, I could:
- choose premade hand holding poses
- add real objects directly into the model’s hand
- rotate the entire setup in space
- study grips from any angle
Instead of asking “Does this look right?”, I could see why it worked.
How to Create a Hand Holding Pose - Step by Step
When you want to draw a hand holding an object, it helps to build the pose deliberately instead of adjusting things randomly.
Here’s a practical workflow you can follow using 3D references.
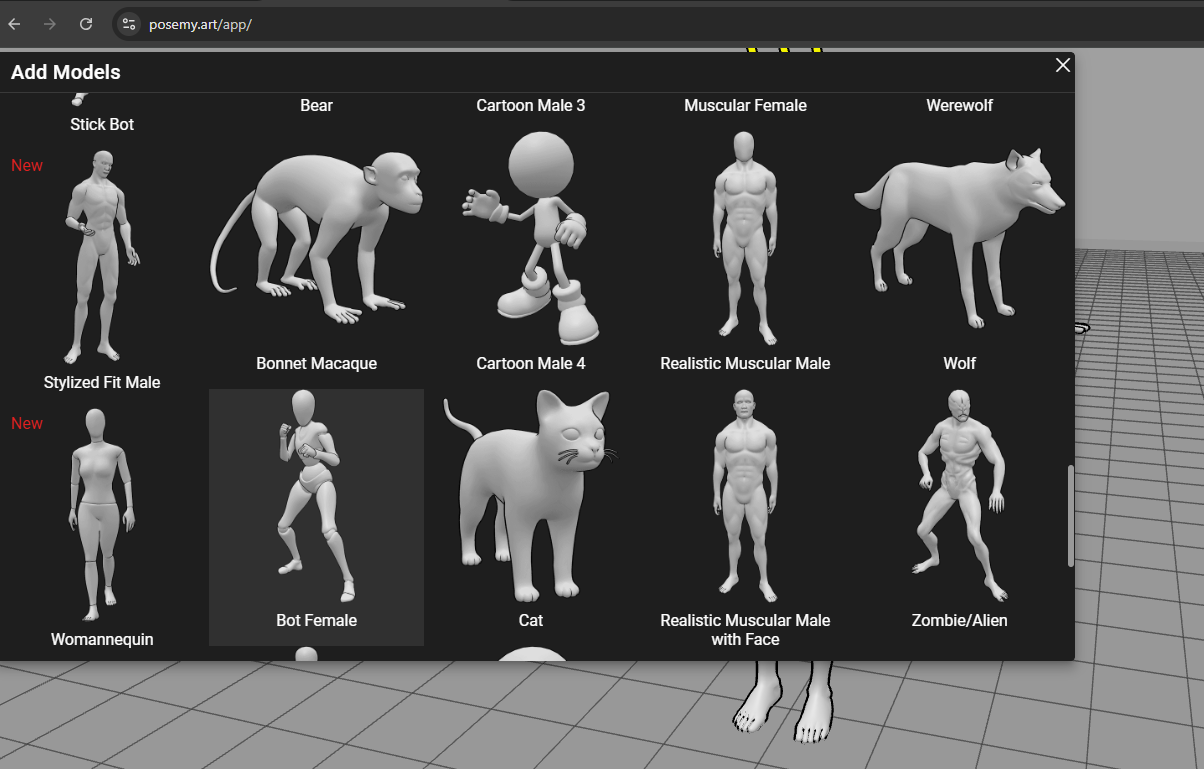
Step 1: Choose a Model
Start by selecting a model:
Step 2: Set the Body Pose First
Before touching the hand, establish the full body posture.
Hand tension often depends on:
- balance
- weight distribution
- arm position
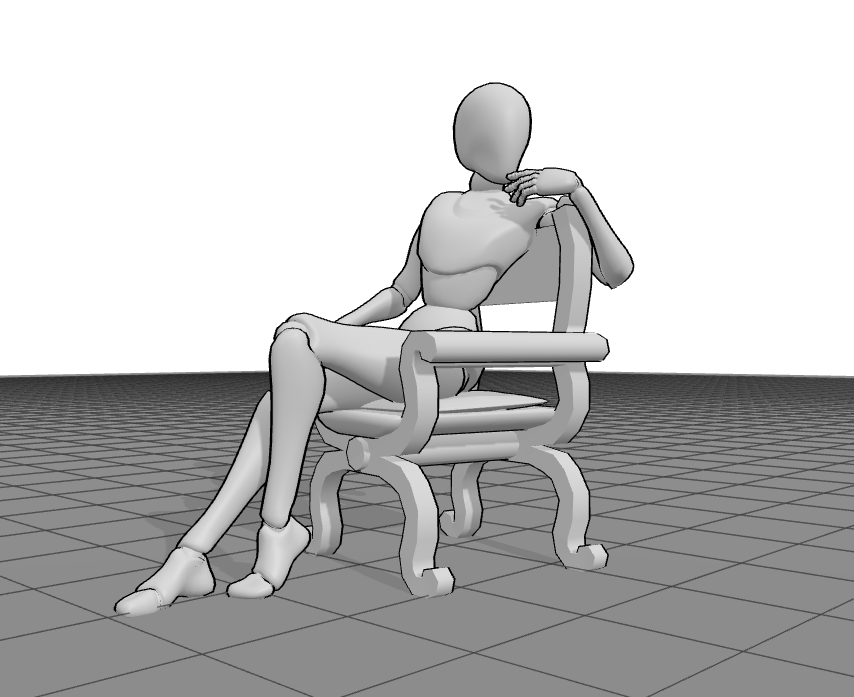
Alternatively, you can save time by selecting a pose from the Premade Scenes Library.
Step 3: Add the Object
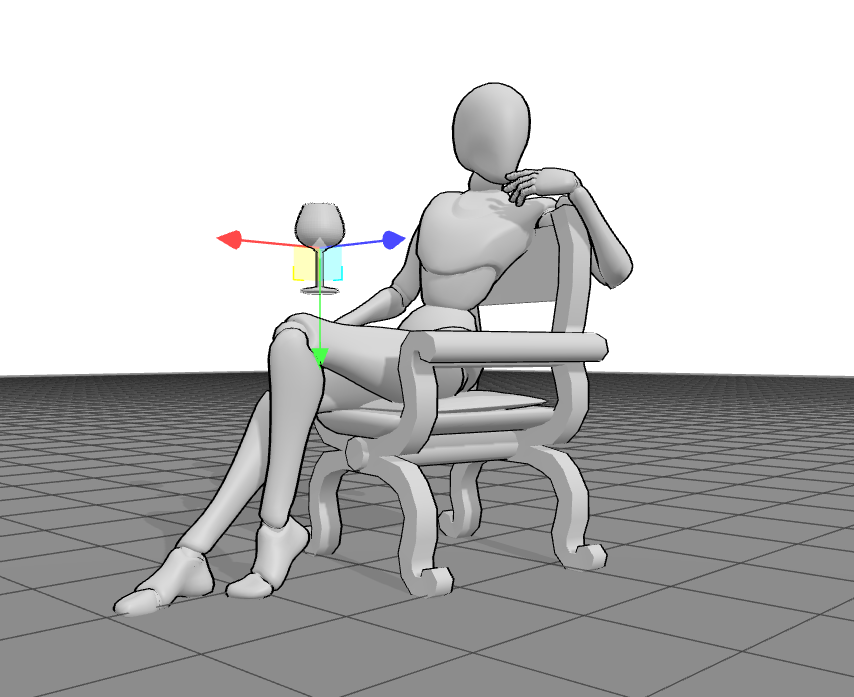
Next, add the object you want the hand to hold.
Place it near the hand - don’t try to fit the hand to it yet.
At this stage, think about:
- object size
- weight
- orientation
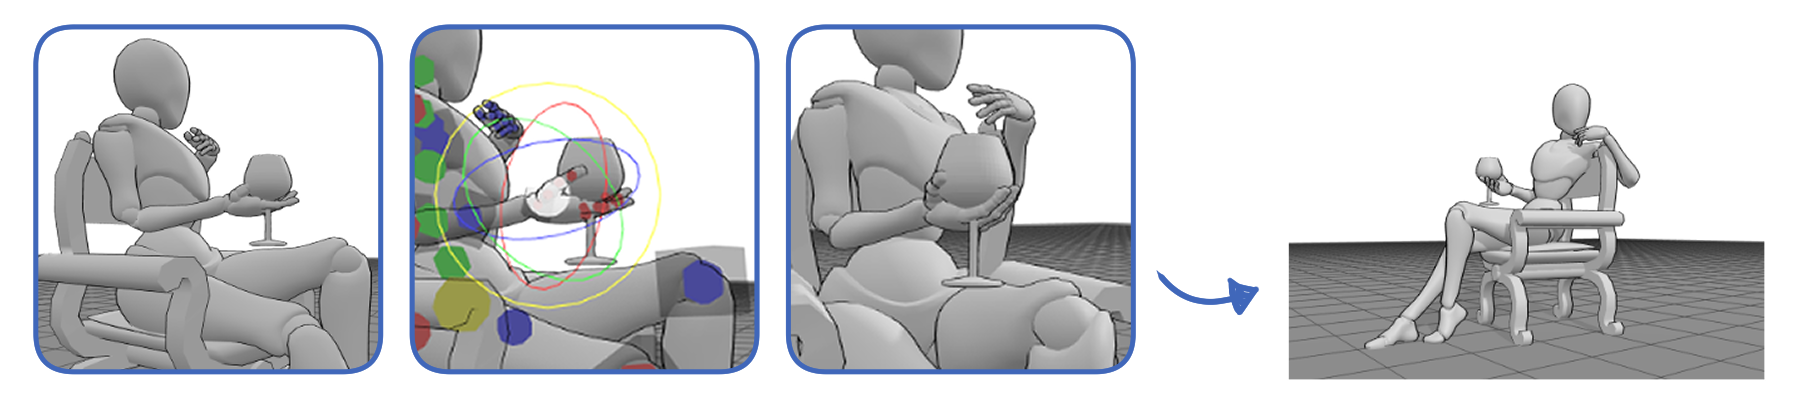
Step 4: Adjust the Hand to the Object
Now adjust the hand around the object.
Focus on:
- thumb placement first
- which fingers are active
- which fingers are supporting
- pressure points
Avoid perfect symmetry. Let the object dictate the grip.
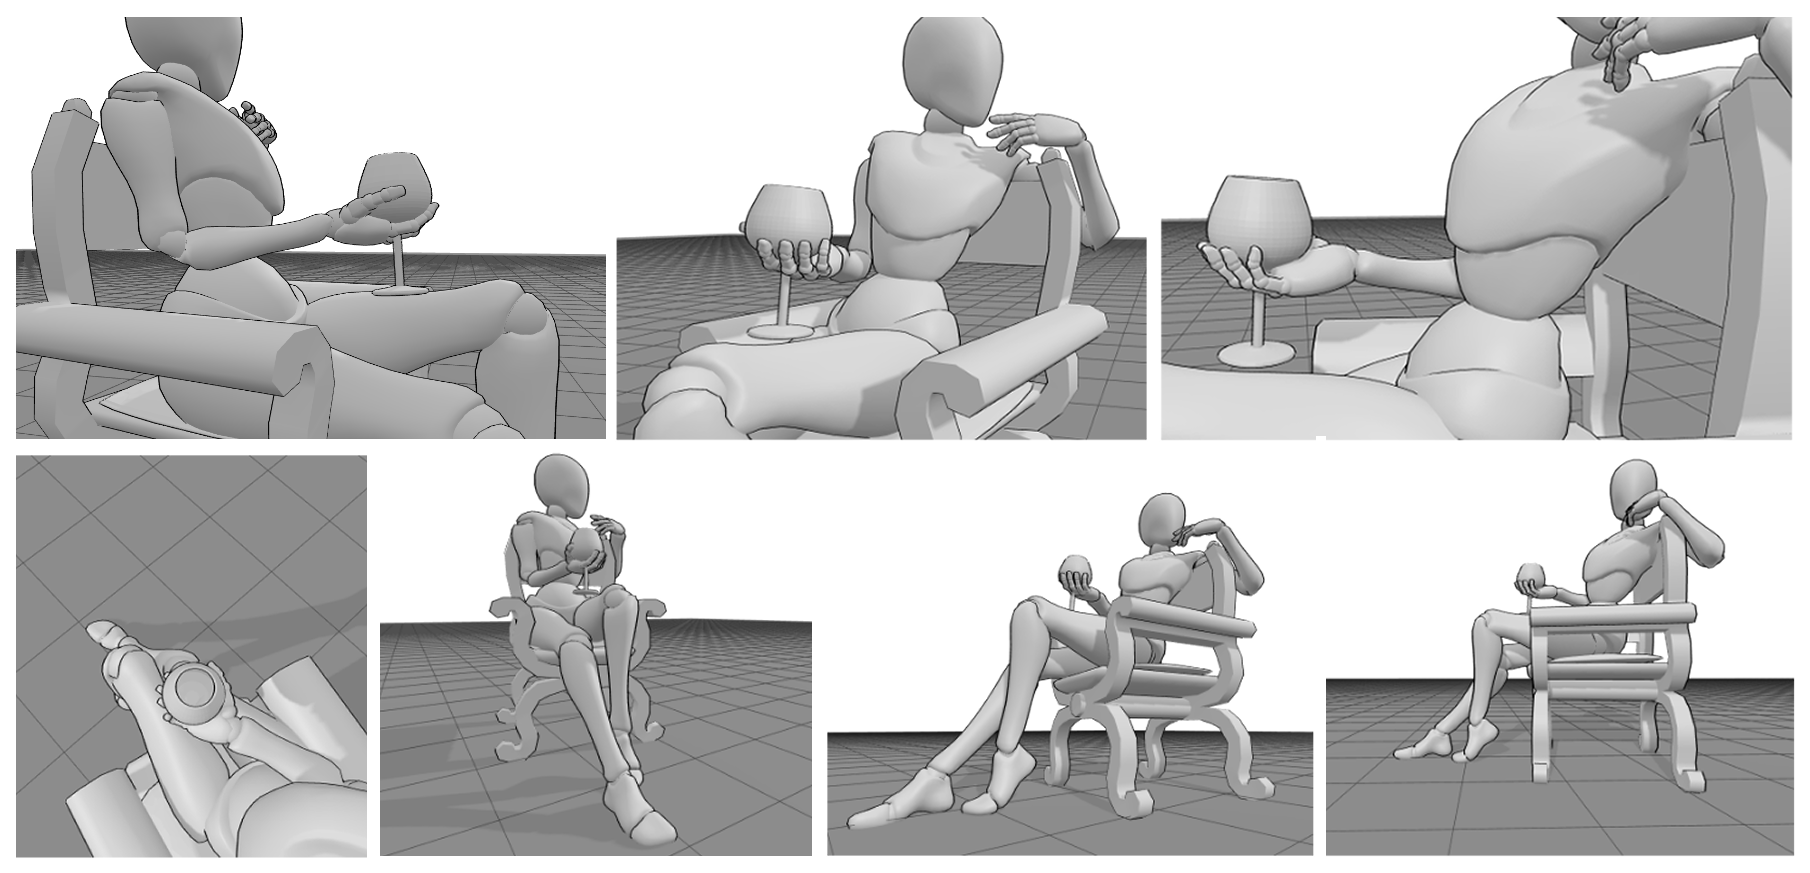
Step 5: Check Angles and Perspective
Rotate the entire scene:
- from the sides
- from above
- from foreshortened angles
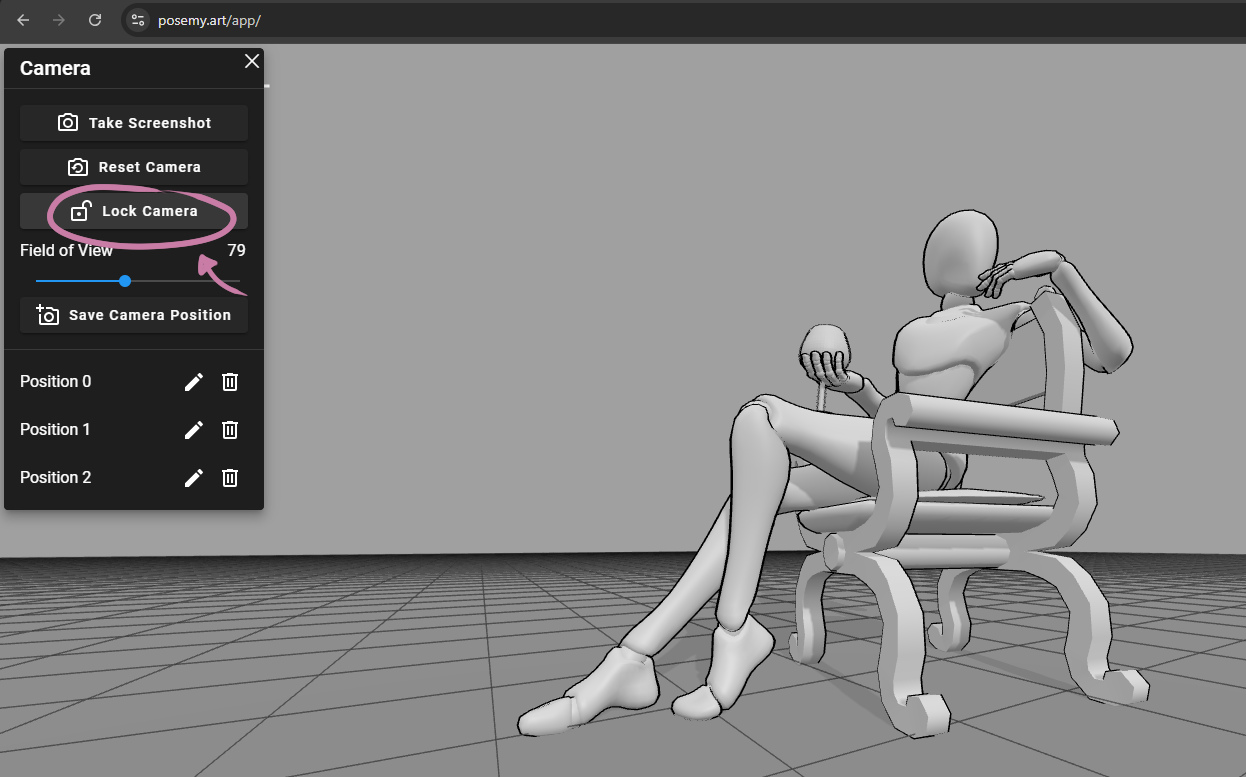
Step 6: Lock the View and Draw
Once the grip feels believable, lock the camera and start drawing. You’ll notice that most of the guesswork is already gone.
Practice Ideas That Actually Improve Results
- Draw the same hand holding five different objects
- Rotate one grip pose through multiple camera angles
- Practice silhouettes of gripping hands
- Study how relaxed grips differ from tense ones
The goal isn’t perfection - it’s understanding cause and effect.
Final Thoughts
Drawing hands holding objects becomes much easier once you stop treating the hand as an isolated shape.
Hands holding objects are not about detail.
They’re about logic, pressure and adaptation.
Once you stop inventing grips and start observing how objects force the hand to change, everything becomes clearer. The stiffness fades. The hesitation disappears. And hands stop feeling like the weakest part of your drawing.
When you work with clear references and build the pose step by step, hands stop feeling unpredictable. They become logical, repeatable and surprisingly enjoyable to draw.
And once that happens, hands no longer weaken your drawings - they strengthen them.