How to use PoseMy.Art?
Learn how to get the most out of PoseMy.Art for your drawing references!
PoseMy.Art is a super powerful tool for creating pose references.
Let’s see how you can get the most out of PoseMy.Art for your drawing references!
Table of contents
How to select a model?
To select a model you have two options:
-
Click on the 3D model itself.
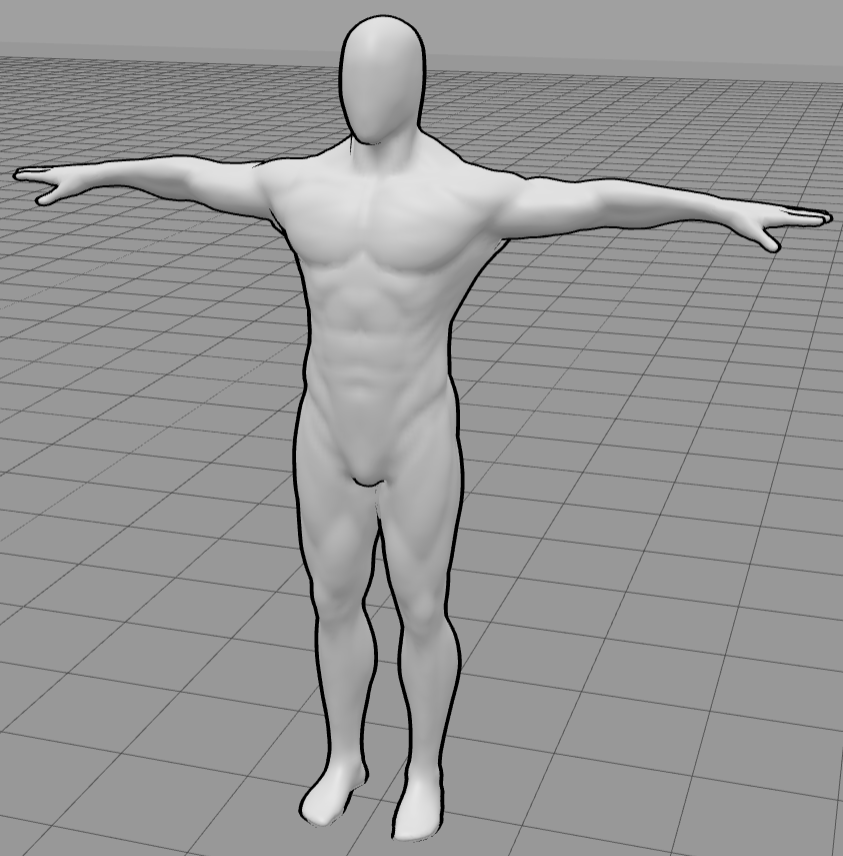
-
Or click on the model icon on the bottom left menu.

How to pose a model?
-
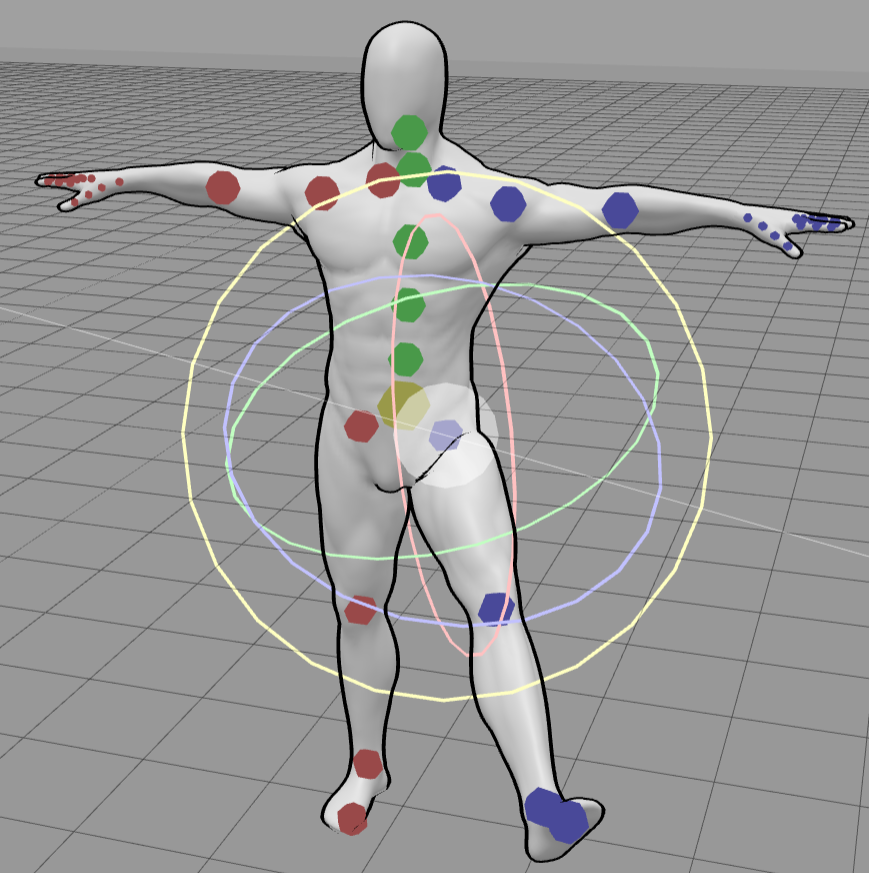
Select a model - little colored circles should appear on the model’s joints.
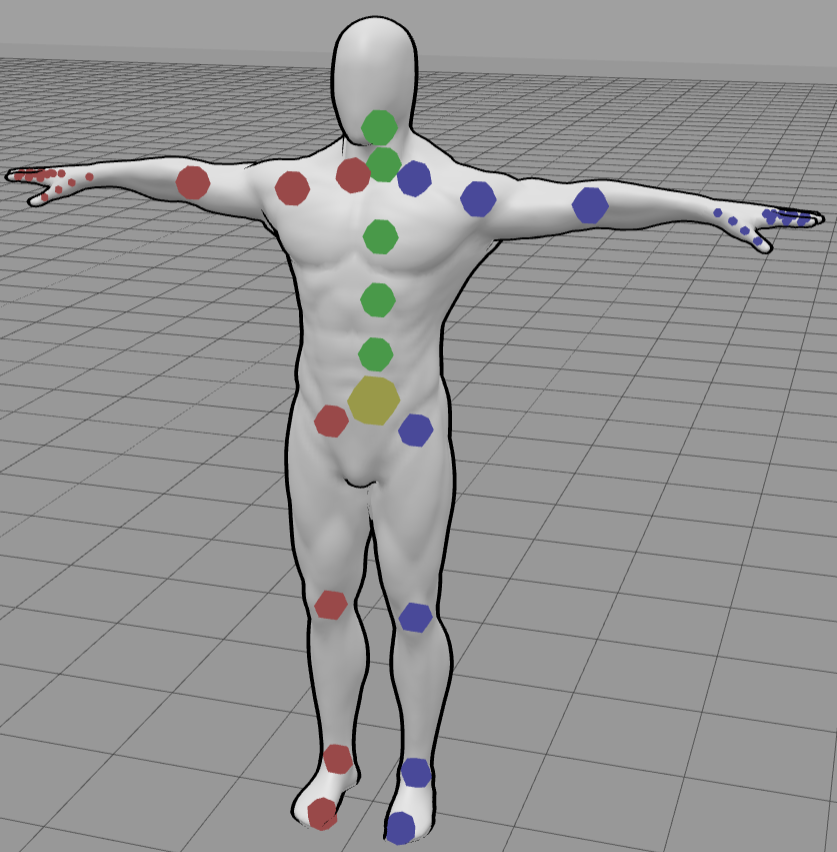
-
Click on the little circle on a joint you want to rotate - 3D rings should appear for each axis.
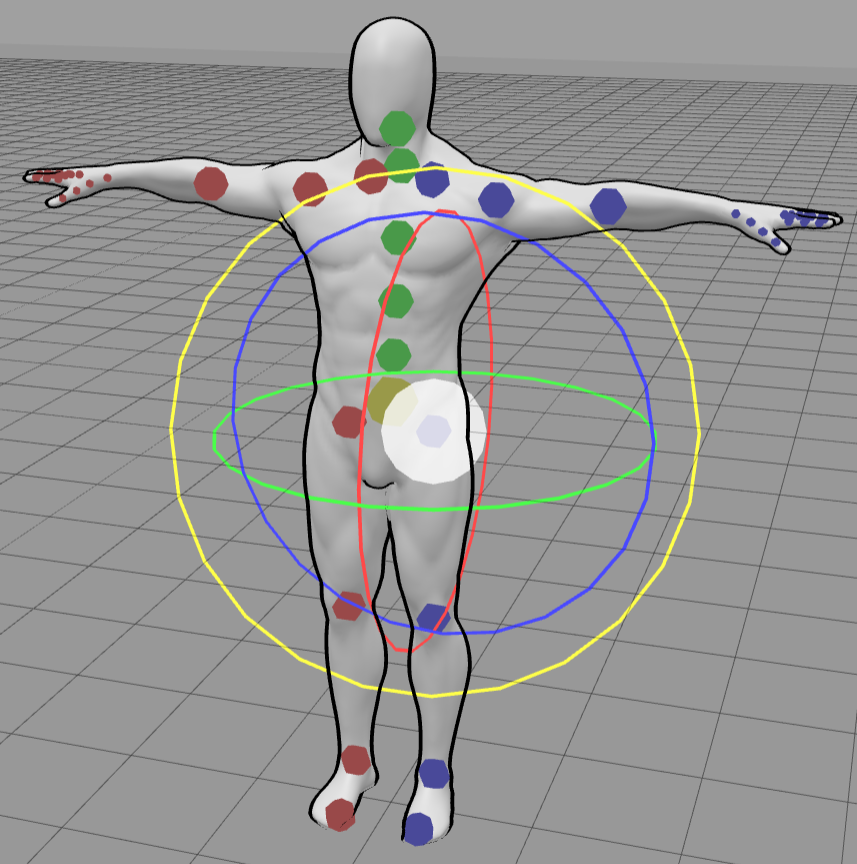
-
Drag the ring (Click and hold while moving the mouse) to move the joint and pose your model
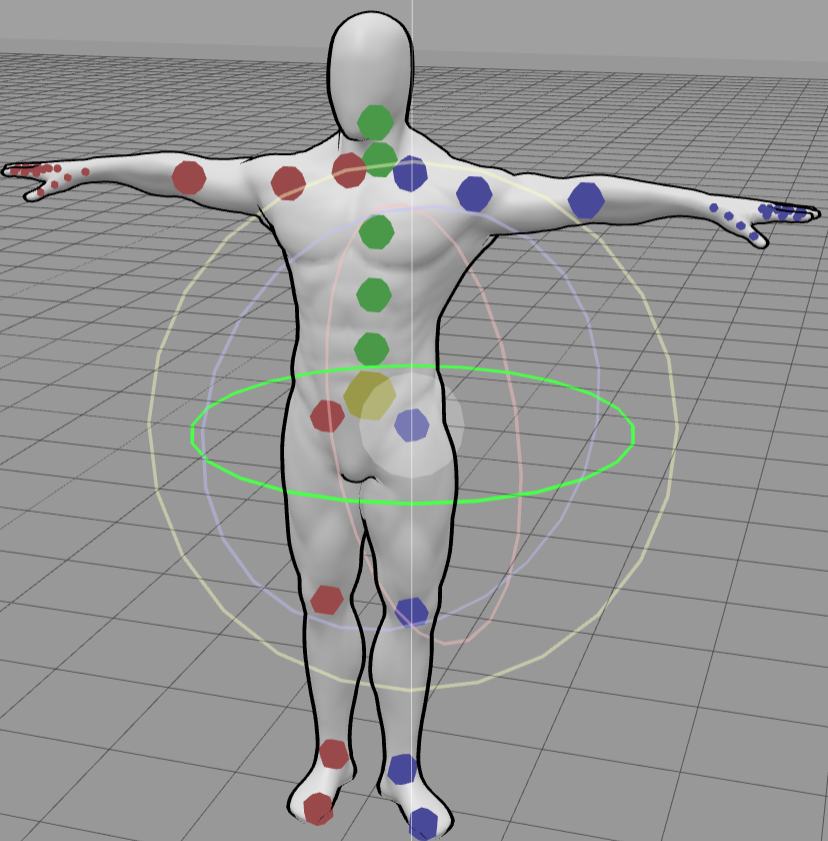
Tip: You can also drag the white circle in the middle to control all the axis at the same time
How to move the camera?
-
Left mouse click and drag (mobile: hold tap with one finger and drag) - Rotate the camera around the center of the scene
-
Right mouse click and drag (mobile: hold tap with two fingers and drag) - Pan the camera
-
Mouse Wheel (mobile: pinch in and out) - Zoom in and out
How to move a model?
-
Select a model
-
Click on the move tool on the bottom left menu - 3 arrows should appear in the middle of the model

-
Click and drag an arrow to move the model around the scene
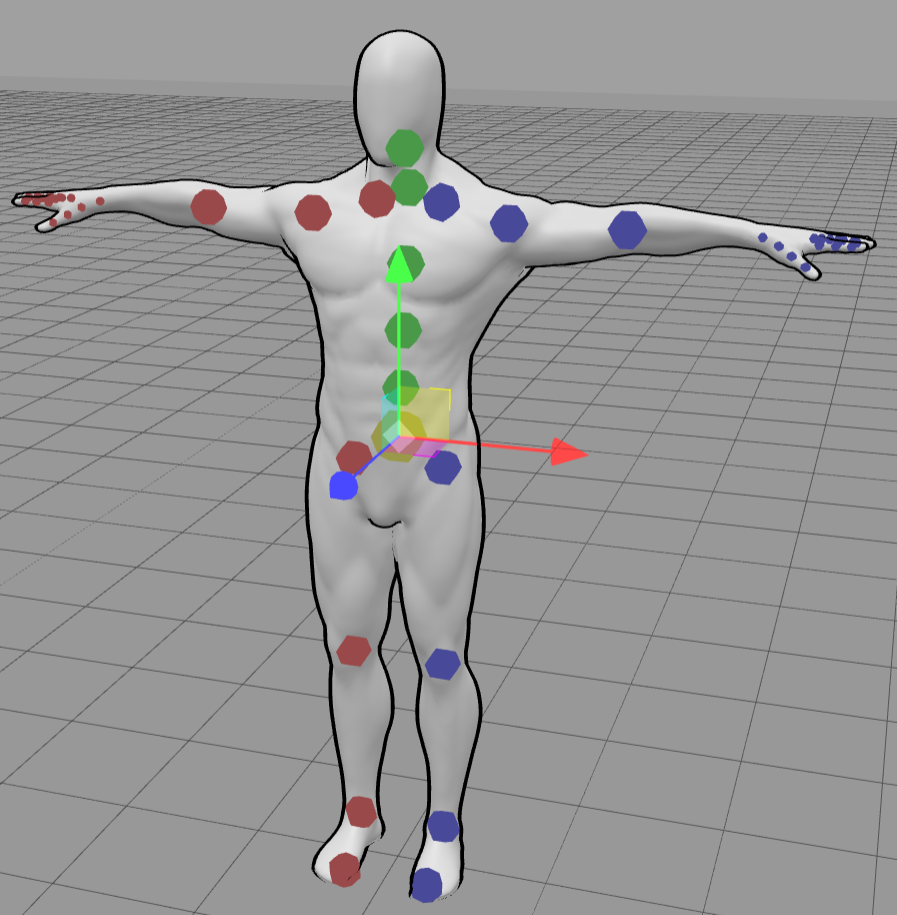
Tip: You can also drag the white diamond in the middle to control all the axis at the same time
Quick Select: You can move between the 3 selection models of the models by clicking on the models multiple times. Make sure to click on the model itself (the body) and not the circles or other tools around it
How to rotate a model?
-
Select a model
-
Click on the rotate tool on the bottom left menu - 3 rings should appear in the middle of the model

-
Click and drag a ring to rotate the model on the axis
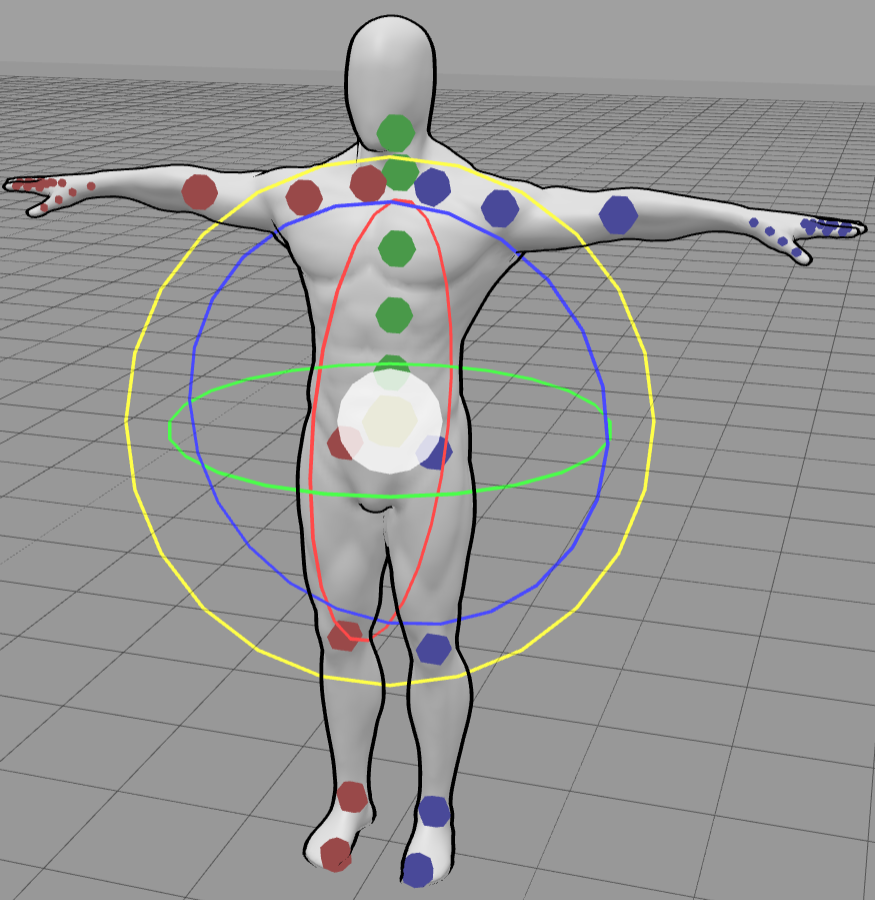
Tip: You can also drag the white circle in the middle to control all the axis at the same time
Quick Select: You can move between the 3 selection models of the models by clicking on the models multiple times. Make sure to click on the model itself (the body) and not the circles or other tools around it
How to scale a model?
-
Select a model
-
Click on the scale tool on the bottom left menu - 3 arrows with cubes on them should appear in the middle of the model

-
Click and drag an arrow to rotate the model on the axis
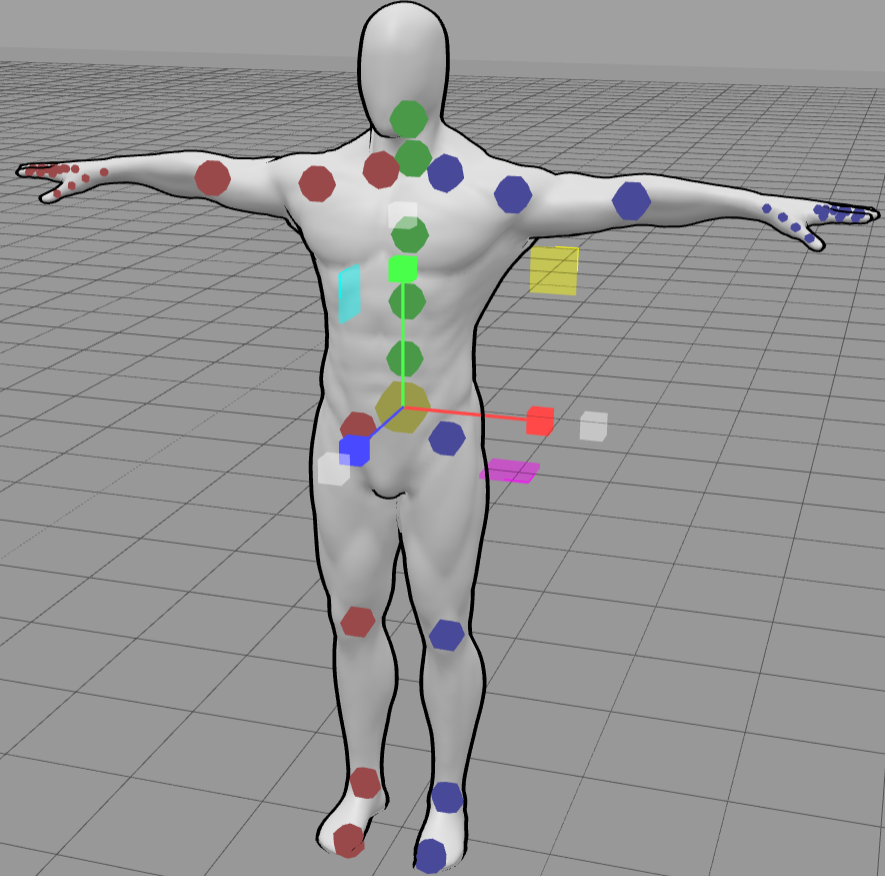
Tip: You can also drag one of the white transparent cubes to control all the axis at the same time
Quick Select: You can move between the 3 selection models of the models by clicking on the models multiple times. Make sure to click on the model itself (the body) and not the circles or other tools around it
How to add a model?
- Click on the “Add models” menu from the top left corner and choose a model

How to add a prop?
- Click on the “Add props” menu from the top left corner and choose a prop

How to move the light?
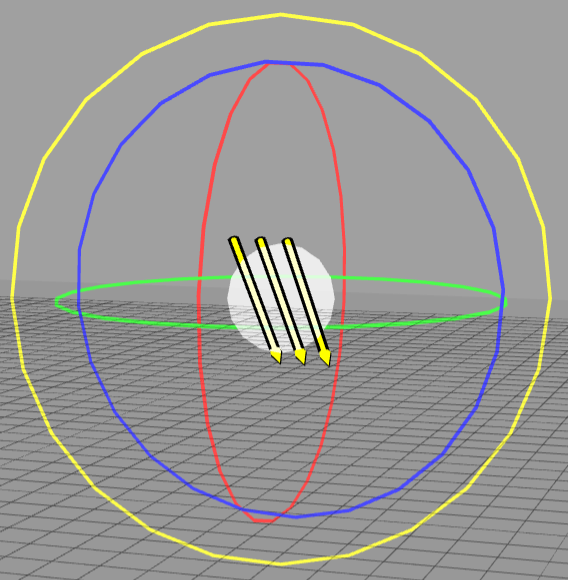
You can control the directional light by rotating the light.
-
Select the light by clicking on the lamp icon on the bottom left menu - 3 rings should appear in the middle of the yellow light arrows
-
Click and drag a ring to rotate the light direction
-
Tip: You can also drag the white circle in the middle to control all the axis at the same time
How to control the light intensity?
-
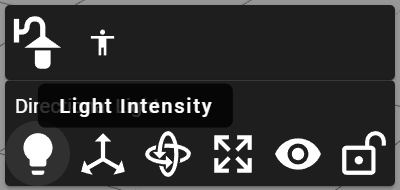
Select the light by clicking on the lamp icon on the bottom left menu
-
Open the light intensity menu by clicking on the light bulb icon
-
Drag the slider to increase or decrease the light intensity
How to undo or redo?
- Click on the undo and redo arrows icons or click Ctrl+z to undo and Ctrl+shift+z to redo
How to take a screenshot?
- Click on the screenshot button on the top left menu

How to save and load scenes?
-
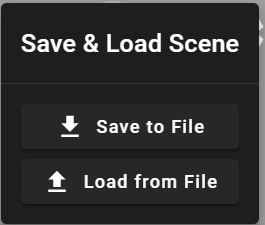
Open the “Save & Load Scene” menu on the top right corner

-
Click on the “Save to file” or “Load from file”
How to flip a model’s pose from right to left?
-
Select a model
-
Click on the “Switch Pose Sides” button

How to use the animations/poses library?
-
Select a model
-
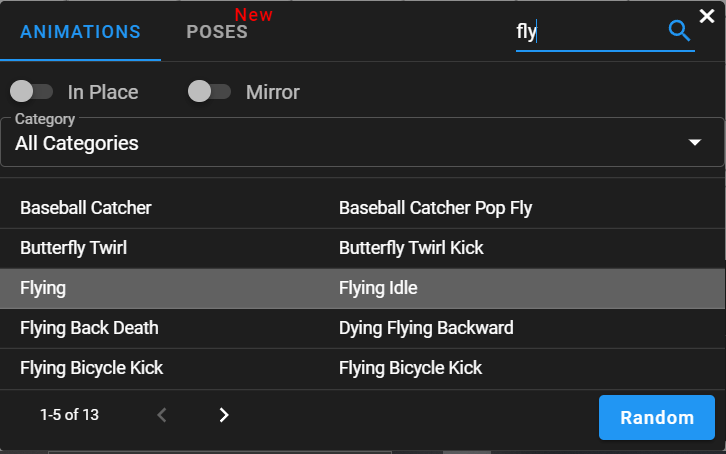
Open the animations menu

-
Search and click on an animation you’d like
-
After you click on an animation you can use the slider to select a specific frame, which will set a specific pose
